Understanding the Exposure Triangle
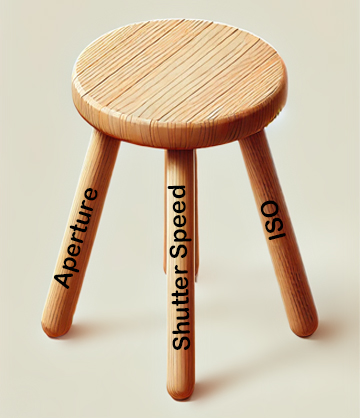
The exposure triangle is a fundamental concept in photography that helps you understand how to control the amount of light entering your camera to create a correctly exposed image. The three elements of the exposure triangle—shutter speed, aperture, and ISO—work together to determine exposure. Mastering this concept will give you the creative control needed to capture stunning photographs in any lighting condition.
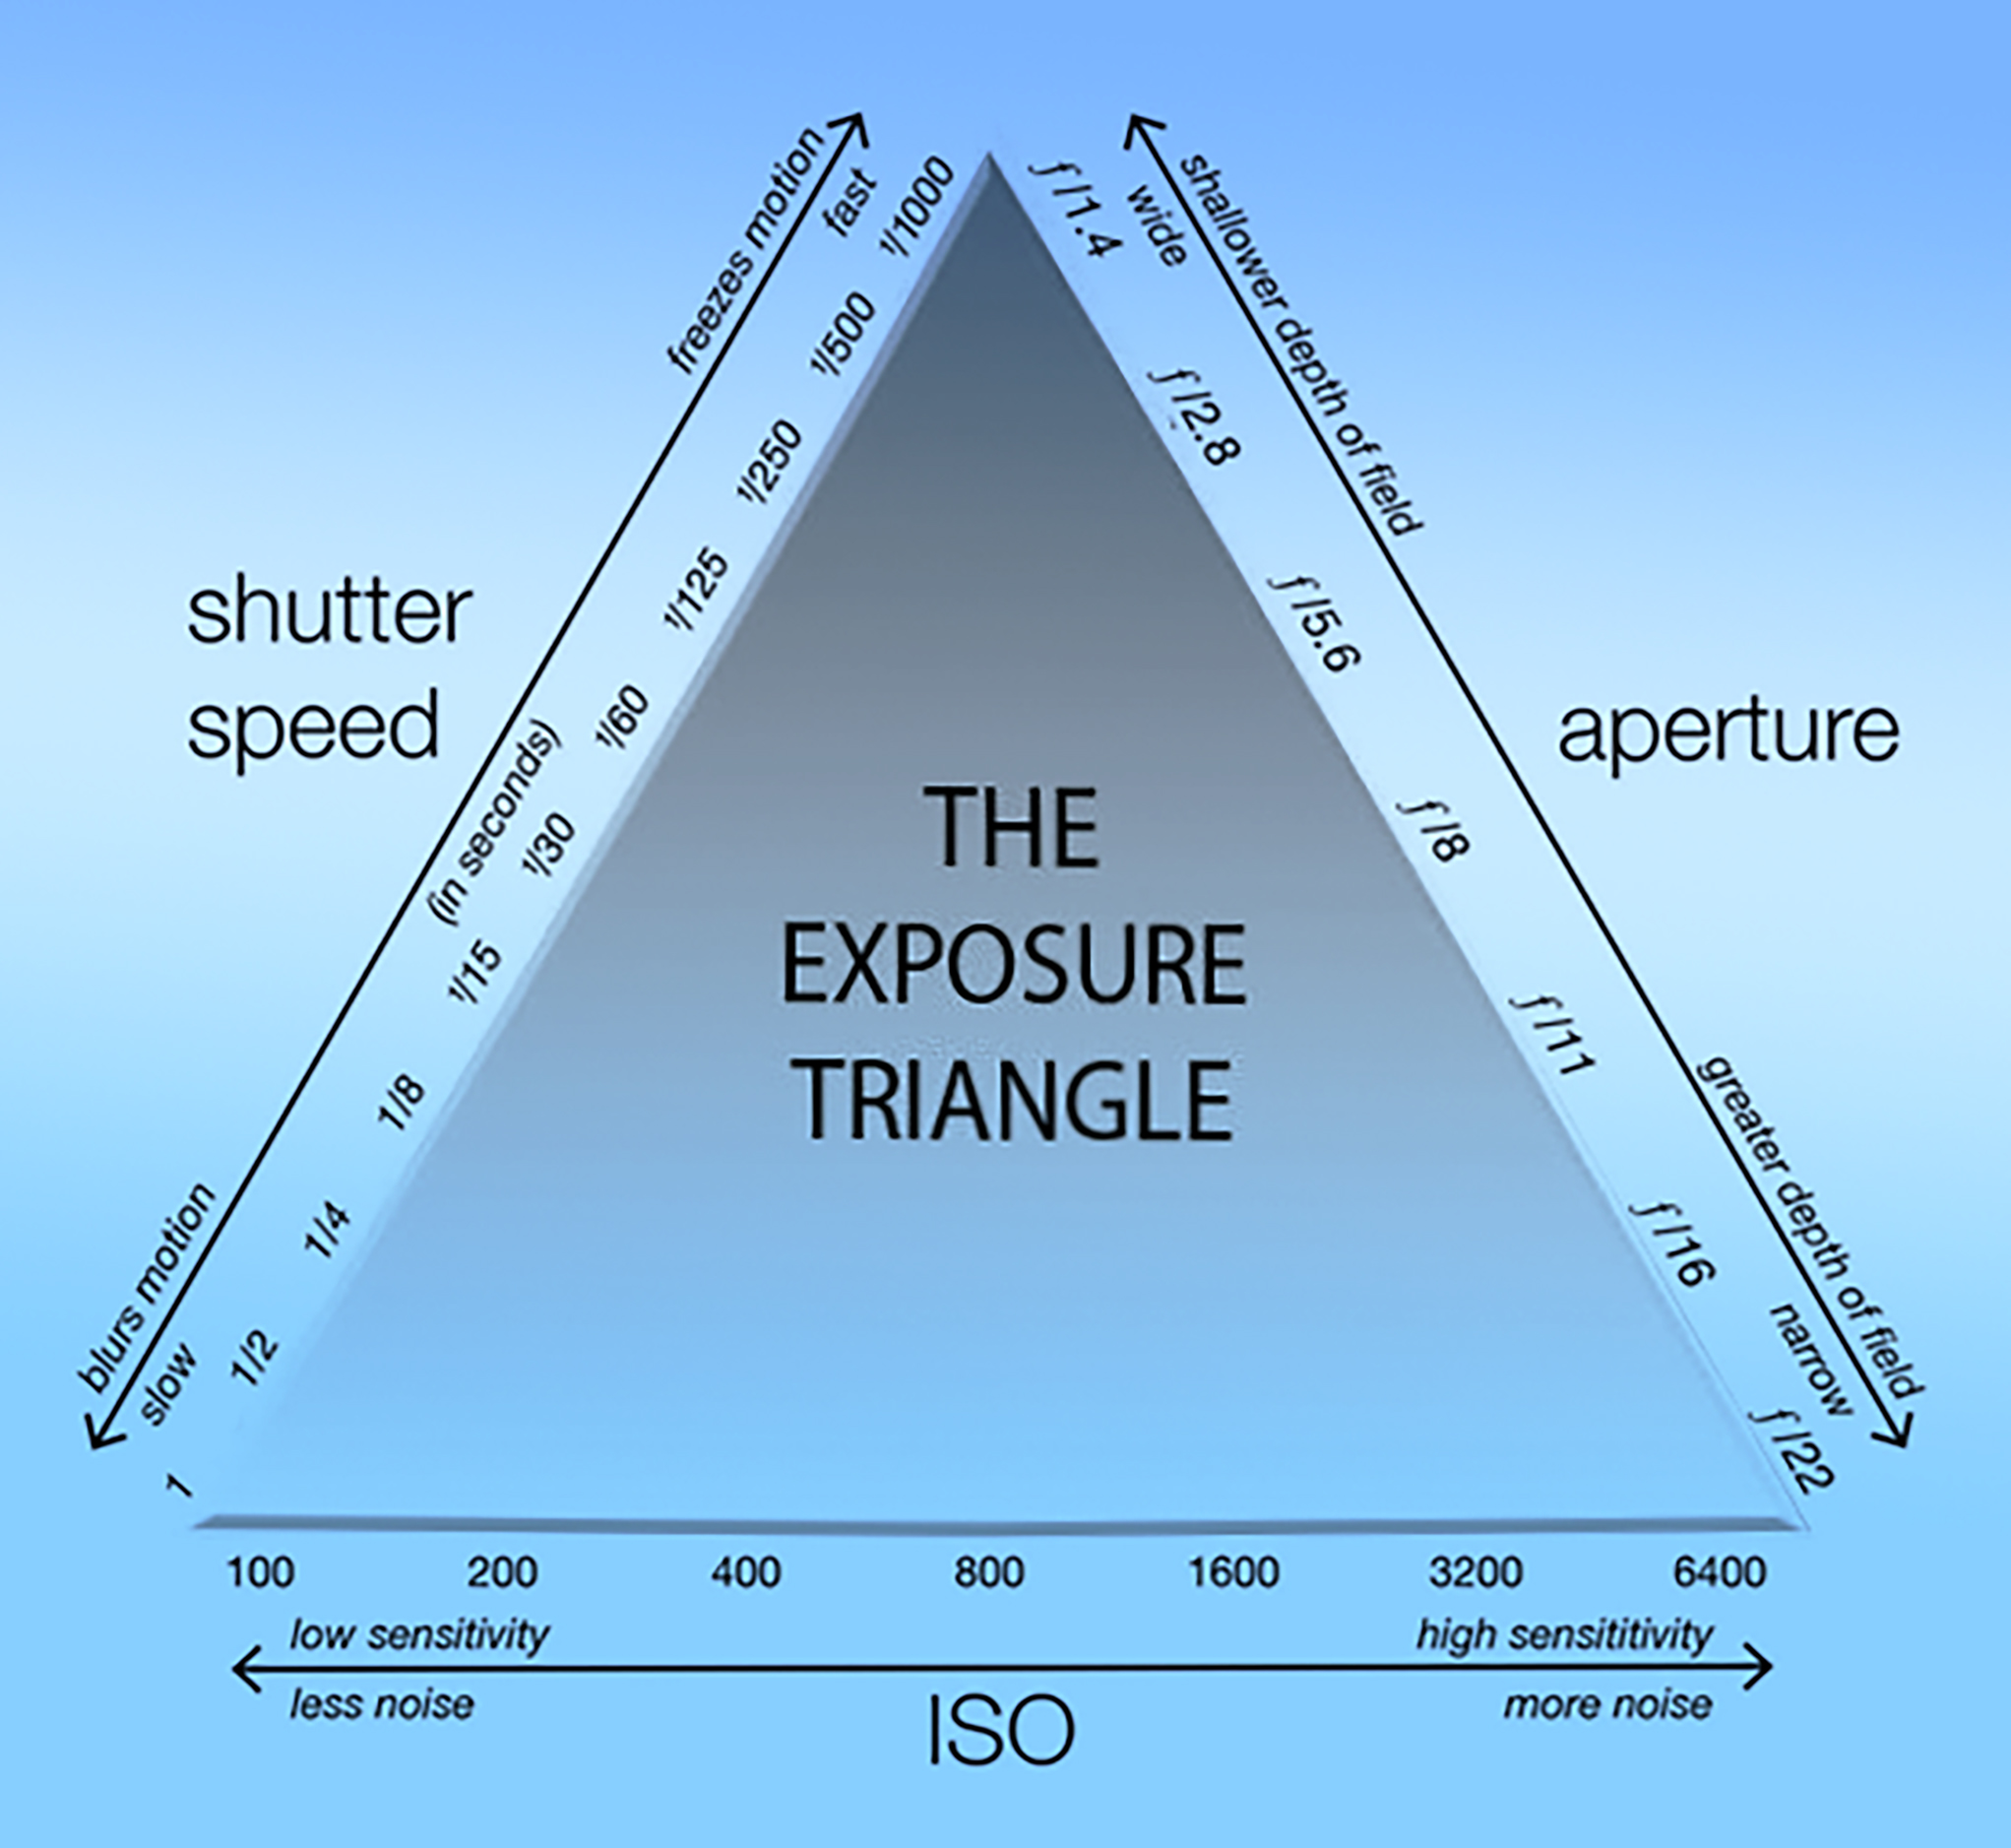
In the following chapters, we will explore each of these functions independently and examine how they can be used for both practical applications (achieving the desired exposure) and creative applications (such as creating intentional blur or grain). Before diving into each element individually, it’s helpful to have an overview of how they function together.
Shutter Speed
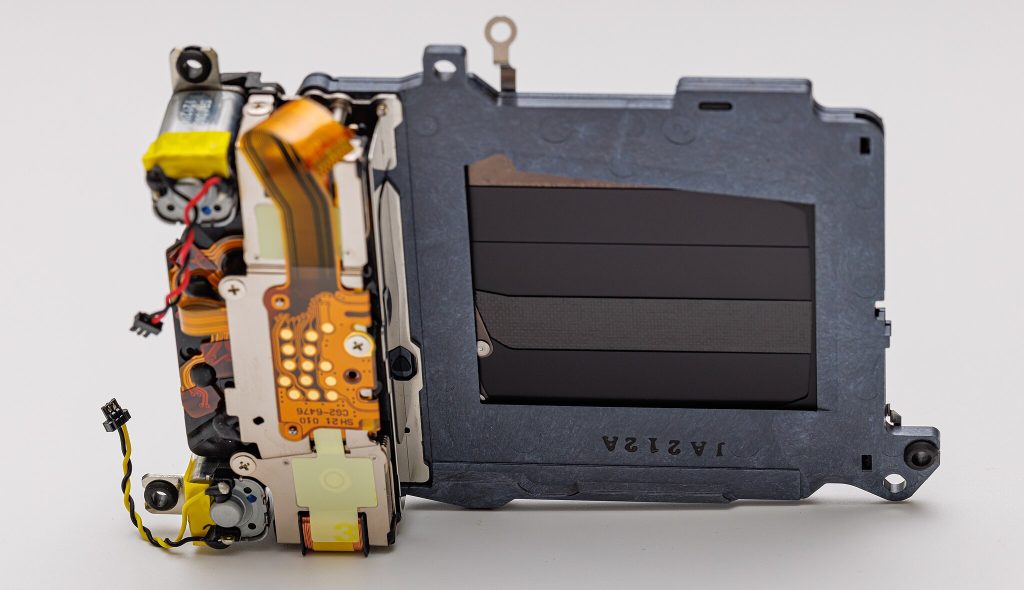
Shutter speed refers to the length of time the camera’s shutter is open, allowing light to hit the sensor. It is measured in fractions of a second (e.g., 1/1000s, 1/250s, 1/30s) or whole seconds (e.g., 1s, 10s).
- Fast Shutter Speeds: Freeze motion, capturing sharp images of moving subjects. Ideal for sports and action photography.
- Slow Shutter Speeds: Blur motion, creating a sense of movement. Perfect for capturing light trails or smooth water effects.
Aperture
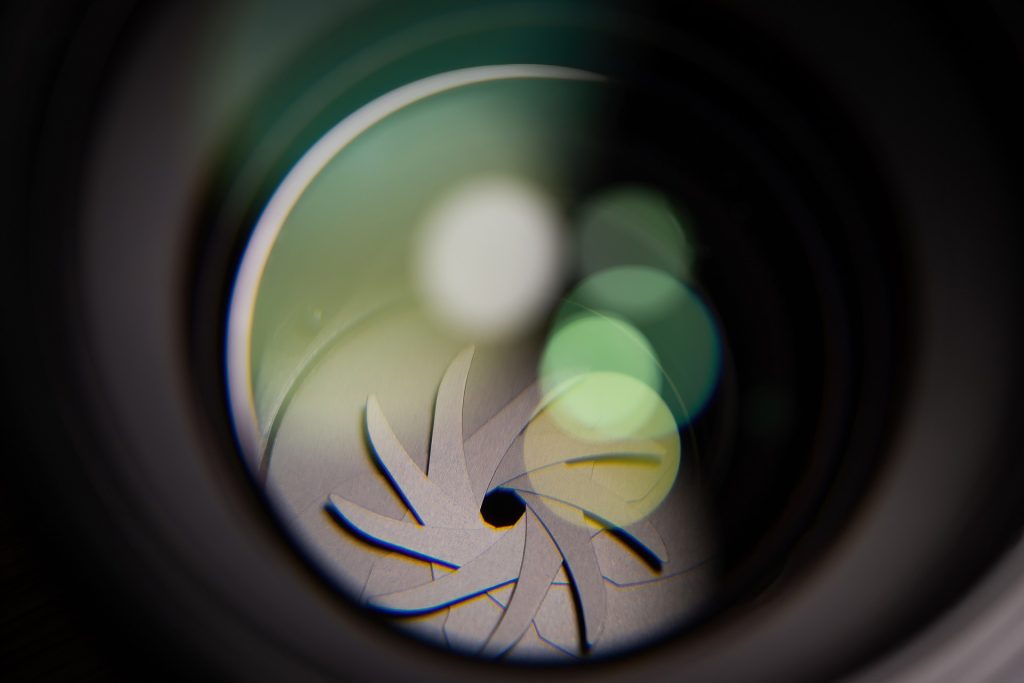
Aperture is the size of the opening in the lens through which light enters the camera. It is measured in f-stops (e.g., f/2.8, f/5.6, f/11).
- Wide Aperture (Low f-stop number): Lets in more light, resulting in a shallow depth of field. Great for portraits where you want the background to be blurred.
- Narrow Aperture (High f-stop number): Lets in less light, creating a deeper depth of field. Useful for landscapes where you want everything in focus from foreground to background.
ISO
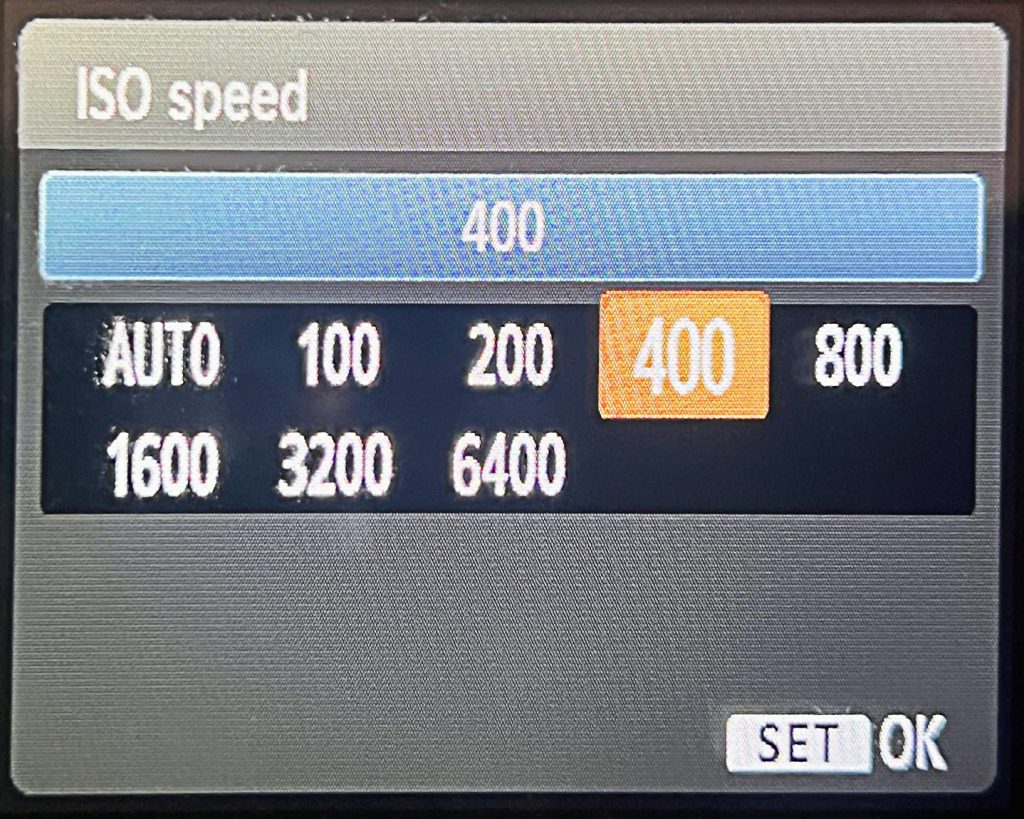
ISO measures the sensitivity of your camera’s sensor to light. It is represented by numbers such as ISO 100, ISO 400, ISO 1600.
- Low ISO: Less sensitive to light, produces less noise, and results in cleaner images. Ideal for bright conditions.
- High ISO: More sensitive to light, allows shooting in low-light conditions but increases noise, which can reduce image quality.
How the Exposure Triangle Works Together
To achieve a correctly exposed image, you need to balance the shutter speed, aperture, and ISO. Changing one element affects the others, and understanding their relationship is key to mastering exposure.
- Shutter Speed and Aperture: If you decrease the shutter speed (e.g., from 1/1000s to 1/500s) to let in more light, you may need to use a narrower aperture (higher f-stop) to prevent overexposure. Conversely, if you use a fast shutter speed to freeze motion, you might need a wider aperture to allow enough light in.
- Shutter Speed and ISO: In low light situations, you can increase the ISO to allow for a faster shutter speed, which helps to avoid motion blur. For example, if you set a fast shutter speed (e.g., 1/1000s) in dim lighting, you might need to increase the ISO to 1600 or higher to achieve the correct exposure.
- Aperture and ISO: When shooting with a narrow aperture (e.g., f/16) to maximize depth of field, you might need to increase the ISO to maintain a proper exposure without slowing down the shutter speed too much. This is particularly useful in low light conditions.
Practical Example
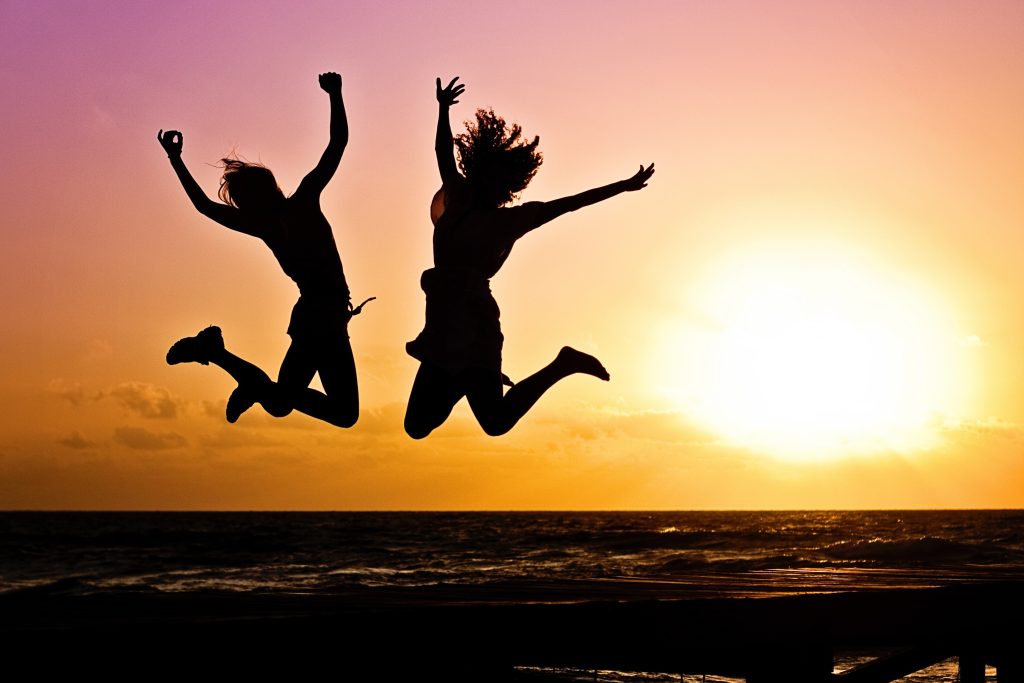
Imagine you are photographing a fast-moving subject in low light. You want to freeze the action without introducing too much noise or blurring. Here’s how you could balance the exposure triangle:
- Set a Fast Shutter Speed: Choose a shutter speed of 1/1000s to freeze the motion.
- Adjust the Aperture: Use a wide aperture, such as f/2.8, to allow more light into the camera.
- Increase the ISO: Set the ISO to 1600 or higher to compensate for the reduced light due to the fast shutter speed and narrower depth of field.
By understanding and manipulating these three elements, you can achieve the desired exposure while maintaining creative control over the final image.

