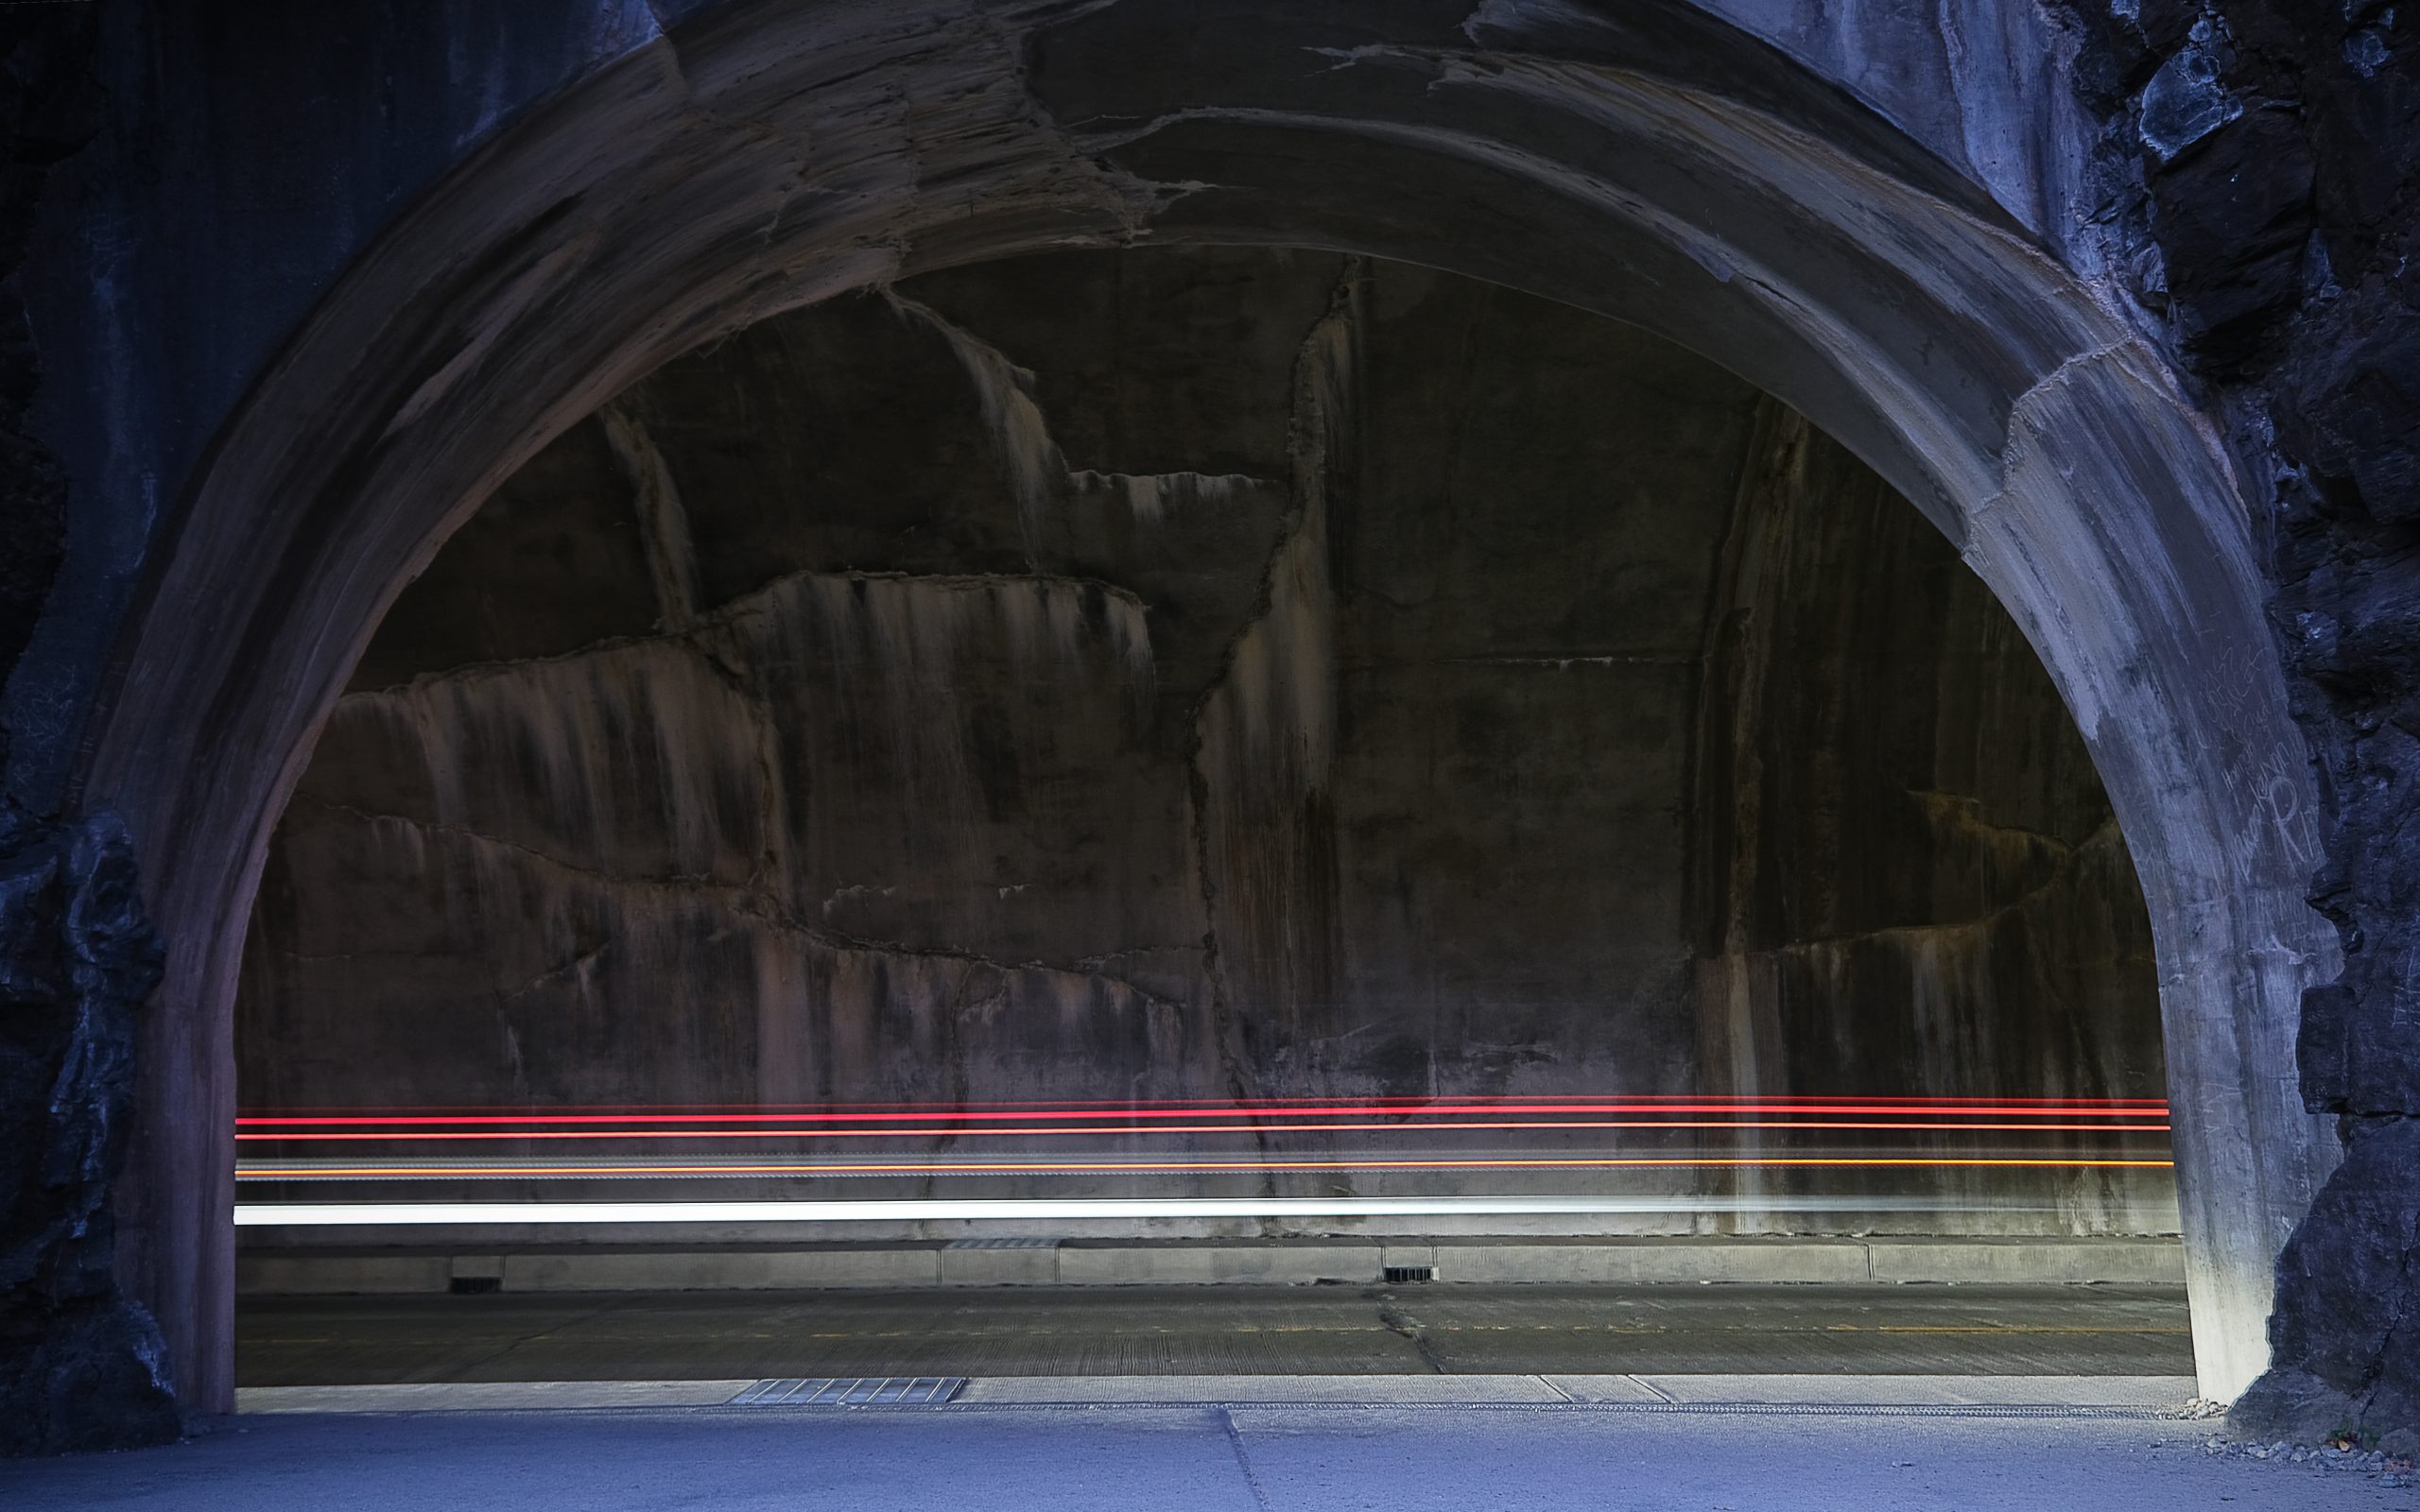
Blurring Motion
Creating Motion Blur
To convey motion in your images, such as flowing water or moving traffic, use a slower shutter speed. A setting of 1/30s to 1s can create beautiful blur effects, but remember to use a tripod to keep the rest of the scene sharp.
Exercise: Creating Motion Blur with Moving Lights
Objective: Capture the light trails of moving vehicles using a slow shutter speed.

Steps:
- Find Your Location: Choose a spot with a good view of a busy street, highway, or cityscape. Make sure you’re safe and not obstructing any pathways.
- Set Up Your Camera:
- Mount your camera on the tripod and ensure it’s stable.
- Switch to Shutter Priority mode (S or Tv).
- Set the shutter speed to 10 seconds. This is a good starting point for capturing light trails.
- Adjust Your Settings:
- Set your ISO to 100 or 200 to keep noise low.
- Let the camera choose the aperture, but check that it’s not too wide (below f/4), as this can result in overexposure.
- Compose Your Shot:
- Frame the scene to include both static elements (like buildings, street signs, or trees) and the path of the moving lights.
- Use live view if available to fine-tune your composition.
- Take the Shot:
- Press the shutter button or use a remote release to start the exposure.
- Wait for the exposure to complete (10 seconds in this case).
- Review and Adjust:
- Check your image on the LCD screen.
- If the light trails are too short, try increasing the shutter speed to 15 or 20 seconds.
- If the image is too bright, lower the ISO or wait until the scene is darker.
Tips for Success:
- Experiment with Different Shutter Speeds: Try various shutter speeds to see how they affect the length and intensity of the light trails.
- Shoot in Manual Focus: Autofocus can struggle in low light. Switch to manual focus and focus on a distant light or building.
- Bracket Your Exposures: Take multiple shots at different shutter speeds to ensure you get the perfect shot.

