Creating a Shallow Depth of Field
Creating a Shallow Depth of Field
A shallow depth of field is when only a small portion of the image is in focus, and the rest is blurred. This technique is excellent for isolating your subject from the background, making it perfect for portraiture or close-up shots like flowers.
Steps to Create Shallow Depth of Field:
- Set Your Camera to Aperture Priority Mode: Turn the mode dial to “A” or “Av”.
- Choose a Wide Aperture: Use a low f-stop number (e.g., f/2.8, f/1.8, or even f/1.4). A wide aperture allows more light to enter the lens, resulting in a shallower depth of field.
- Focus on Your Subject: Use the autofocus point to focus on your subject, such as the flower. Ensure that the subject is the sharpest part of your image.
- Compose Your Shot: Frame your subject with enough background to achieve the desired blur effect. The closer you are to the subject, the more pronounced the shallow depth of field will be.
- Check Your Exposure: The camera will automatically adjust the shutter speed to balance the exposure. If the lighting conditions change, you might need to adjust the ISO to maintain a proper exposure.
Creating the Bokeh Effect
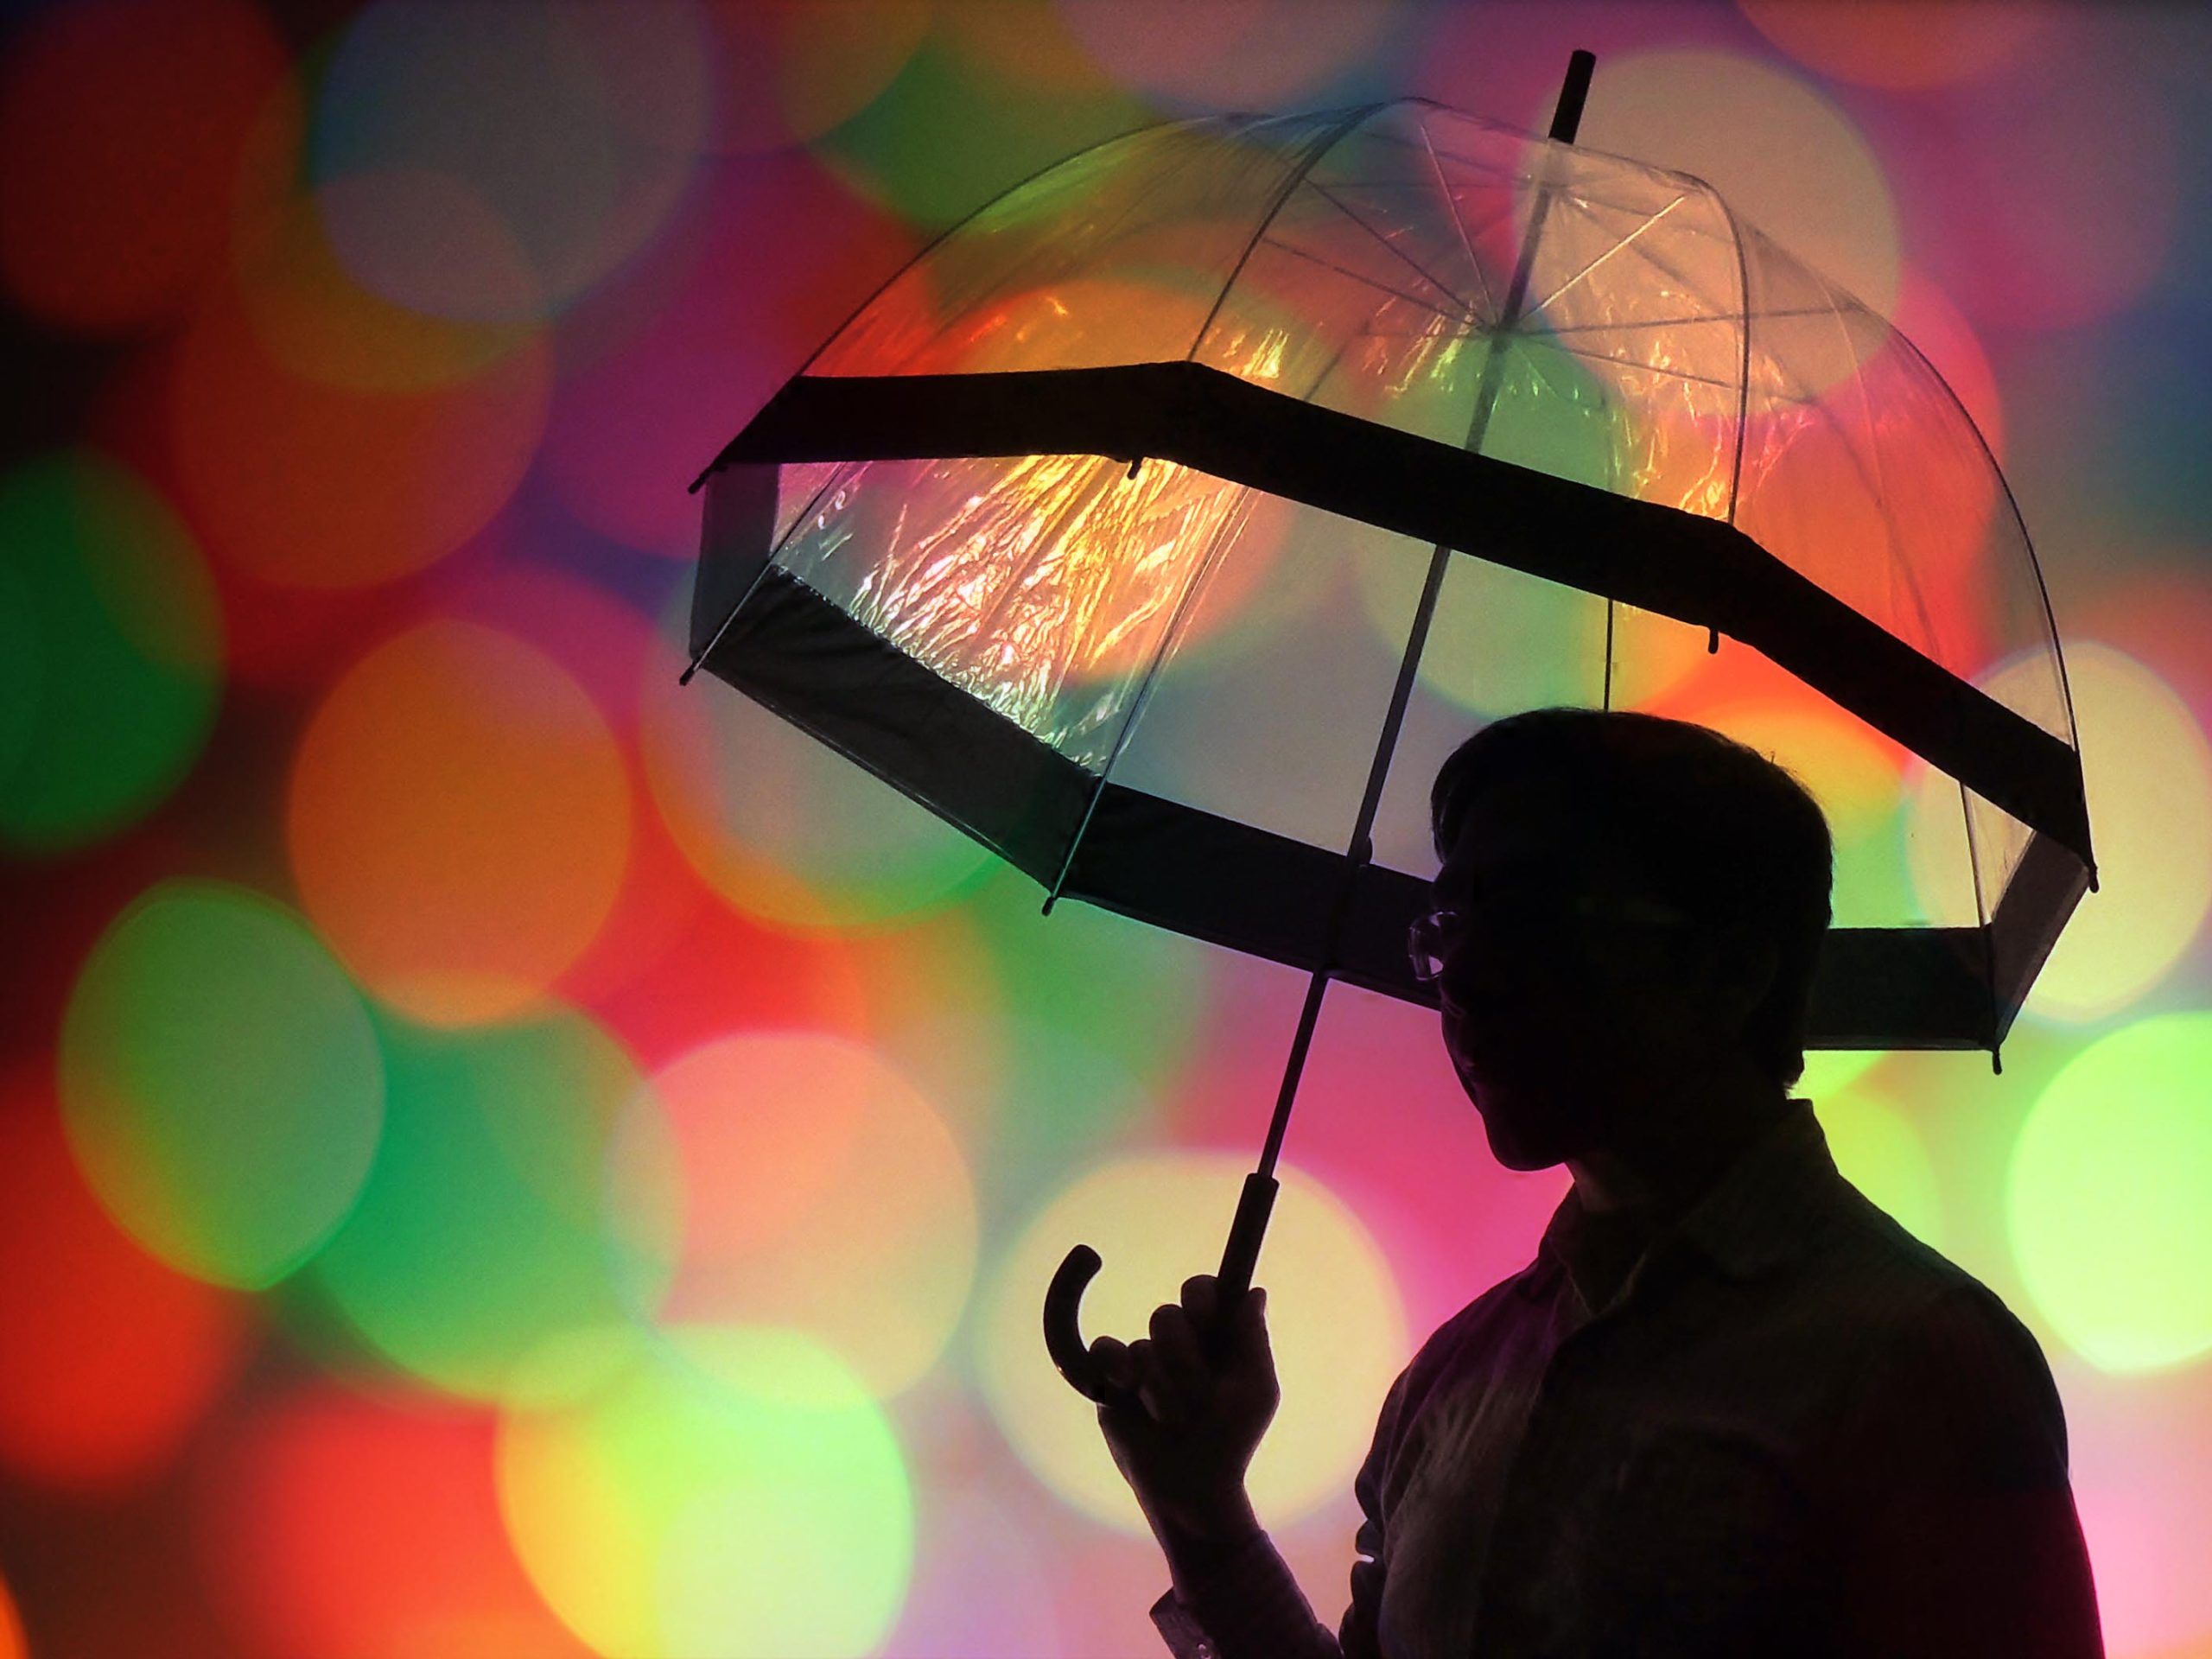
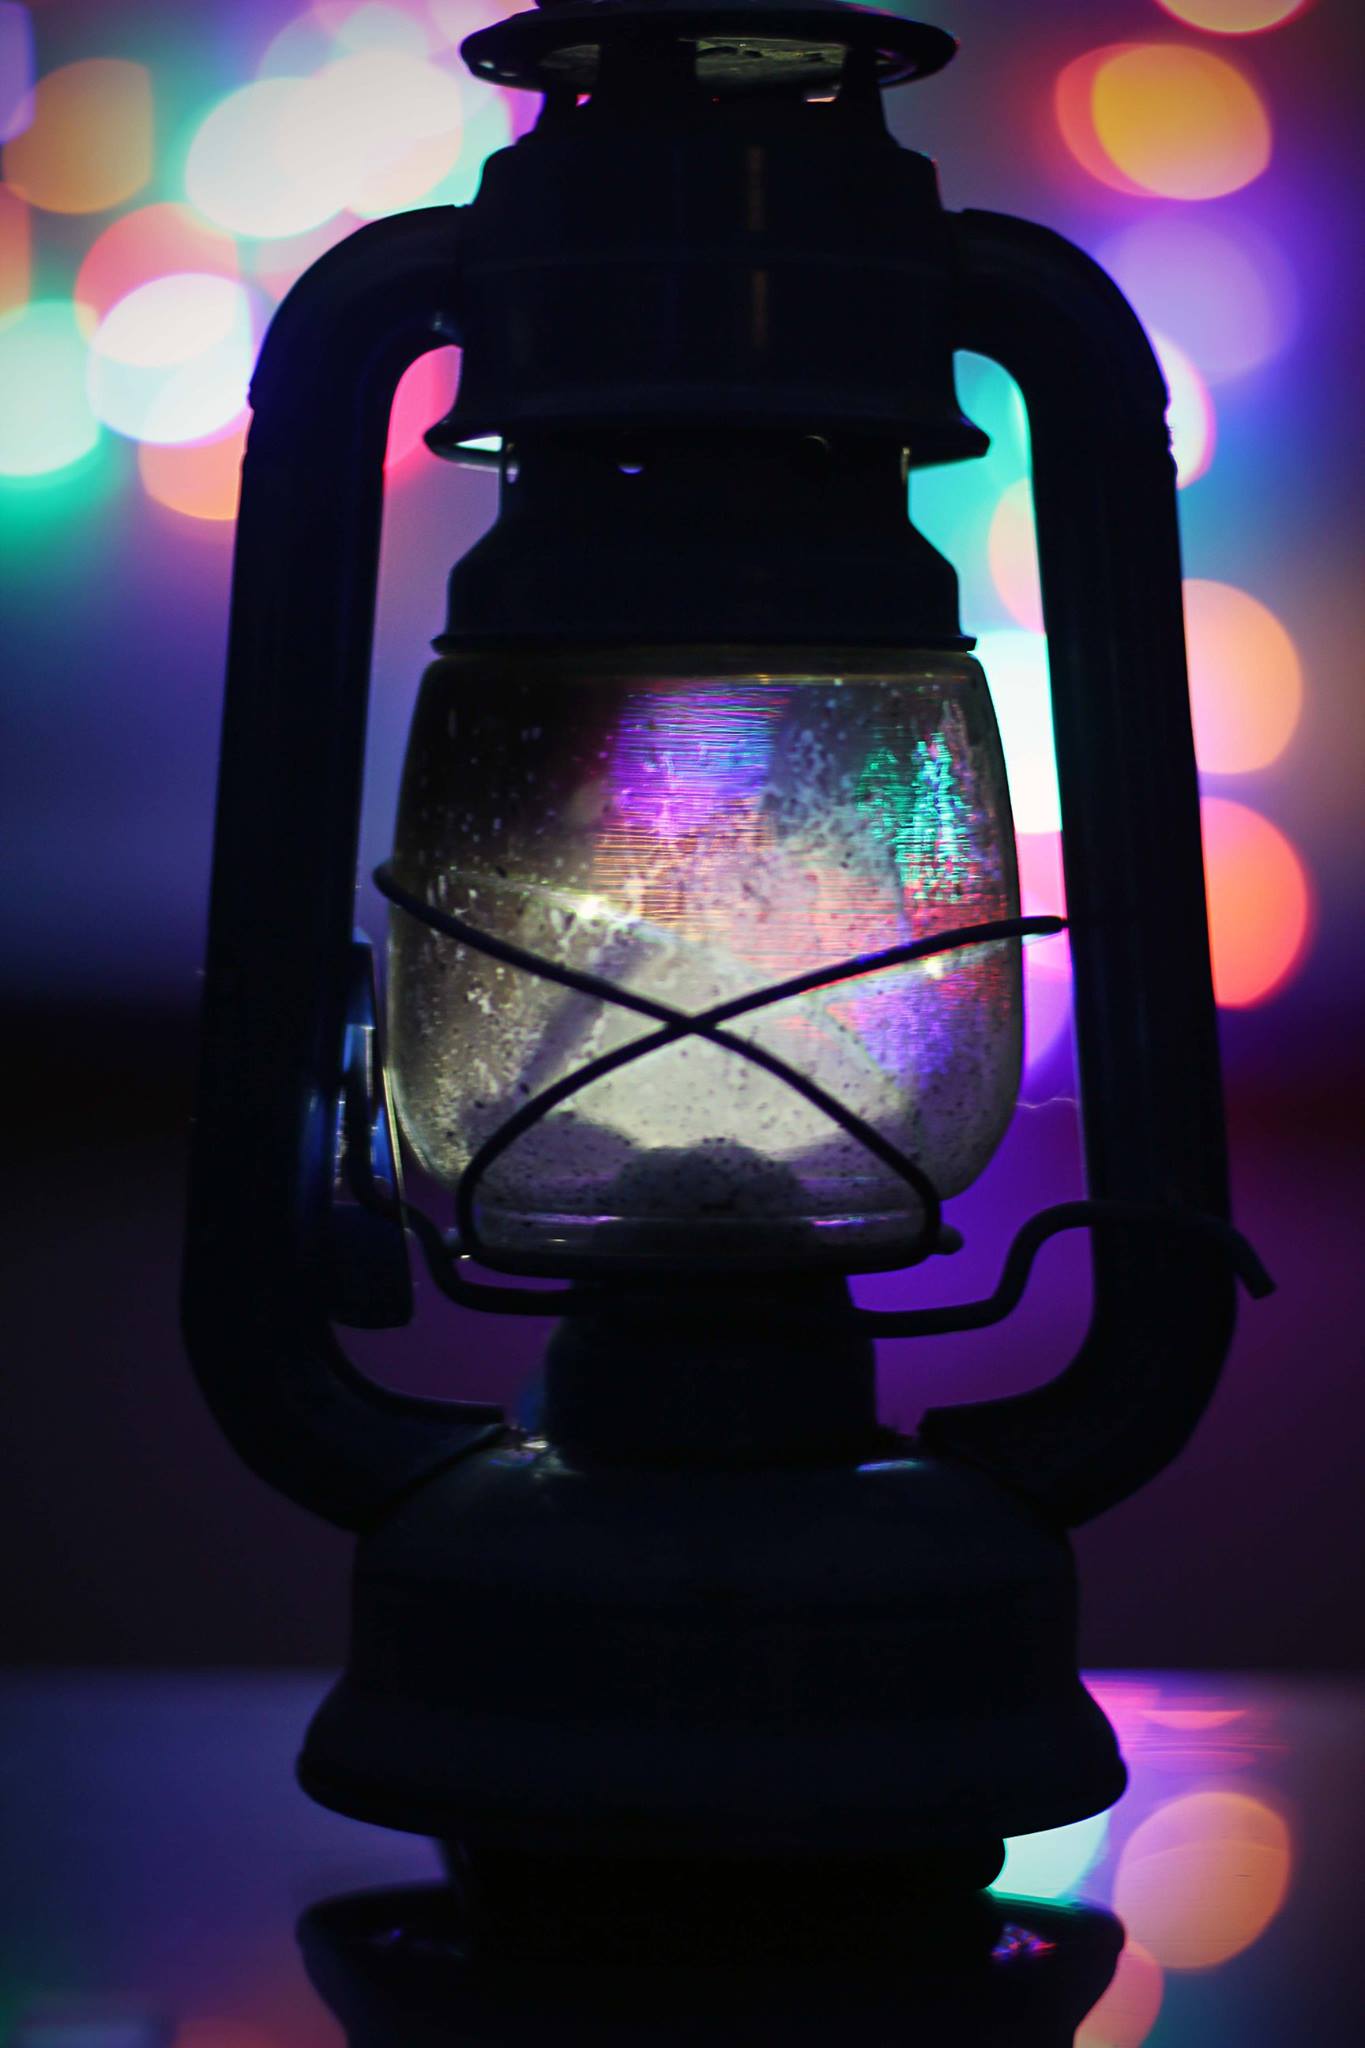
As defined above, Bokeh is the aesthetic quality of the out-of-focus areas of an image characterized by soft, pleasing circles of light. Some good examples of where to use it would be in photographing city lights or holiday decorations like Christmas lights. The bokeh effect can create a great backdrop for something like portraits and it can have all sorts of fun and creative uses in your imagemaking.

Steps to Create Bokeh Effect:
- Set Your Camera to Aperture Priority Mode: Turn the mode dial to “A” or “Av”.
- Choose a Wide Aperture: Select a low f-stop number (e.g., f/1.4, f/1.8, or f/2.8) to create a very shallow depth of field.
- Focus on Your Subject: Focus on a nearby subject, ensuring that the background lights are out of focus. This could be a person, a decorative element, or even the lights themselves if you want abstract bokeh.
- Compose Your Shot: Include distant light sources in the background. The further away the lights are, the more pronounced the bokeh effect will be.
- Check Your Exposure: As with shallow depth of field, the camera will adjust the shutter speed to balance the exposure. Adjust ISO if necessary to maintain a proper exposure.
Practical Exercise: Shallow Depth of Field and Bokeh

To practice creating a shallow depth of field and achieving the bokeh effect, follow this exercise. This exercise is designed to be done outdoors with natural light.
Objective: Capture a sharp image of a subject (it can be a person, lantern, clock) with a blurry background (shallow depth of field) and create a bokeh effect with lights in the background.
Equipment Needed:
- DSLR camera
- A fast lens with a wide aperture (e.g., 50mm f/1.8) works best but simply using the lowest f stop on your lens should result in some level of Bokeh.
- A tripod (optional for stability)
- A subject like a person or a prop
- City lights or Christmas lights for the bokeh effect
Steps:
- Find Your Location
- Choose an outdoor area with your subject or prop for the shallow depth of field exercise.
- Select an indoor or outdoor location with decorative lights for the bokeh effect.
- Set Up Your Camera
- Switch to Aperture Priority mode (A or Av).
- Set the aperture to f/1.8 or wider.
- Bokeh Effect Exercise
- Focus on the subject.
- Get close to the subject to maximize the shallow depth of field effect.
- Compose your shot to include some background but keep the focus on the subject.
- Take the shot and review the image to ensure the background is suitably blurred.
Tips for Success:
- Experiment with Distance: The closer you are to the subject and the farther the background, the more pronounced the shallow depth of field and bokeh effect will be.
- Use Manual Focus: If autofocus struggles in low light, switch to manual focus to ensure the subject is sharp.
- Stabilize Your Camera: Use a tripod if necessary to keep the camera steady, especially in low light conditions.
By practicing this exercise, you’ll gain a better understanding of how to use aperture to control depth of field and create stunning bokeh effects. This skill will enhance your creative control and help you produce visually appealing images.

