Using ISO in Manual Mode
ISO With You in Control
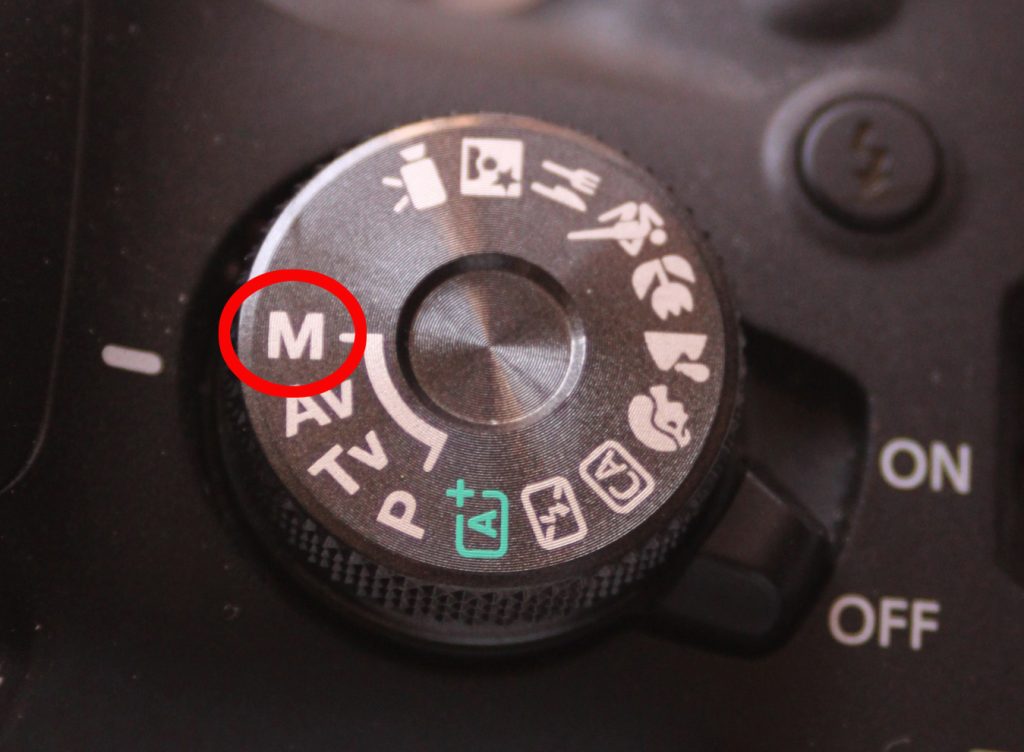
Manual mode (denoted as “M” on your camera’s mode dial) allows you to control all three exposure settings: shutter speed, aperture, and ISO. This mode offers the most control and flexibility, enabling you to fine-tune the ISO to match the lighting conditions and achieve the desired exposure.

Steps to Use ISO in Manual Mode:
- Set Your Camera to Manual Mode and Choose Your ISO:
Turn the mode dial to “M.” Select your ISO based on the lighting conditions:- Bright outdoor settings: Start with ISO 100 or 200.
- Low-light settings: Start with ISO 1600 or higher.
- Adjust Shutter Speed and Aperture:
Once ISO is set, adjust shutter speed and aperture to balance your exposure. Use the camera’s light meter, visible in the viewfinder or LCD screen, to guide your settings. - Take a Test Shot:
Review the image on your camera’s LCD screen and zoom in to check for noise and sharpness. Adjust ISO if necessary to improve image quality, especially if you notice too much noise in low light or overexposure in bright light.
Even when using manual mode, ensure ISO is not set to AUTO in your camera’s menu. This step prevents the camera from overriding your settings and ensures full control over exposure. Photo by Eric Demattos CC BY-NC-SA (Attribution Non Commercial ShareAlike)

