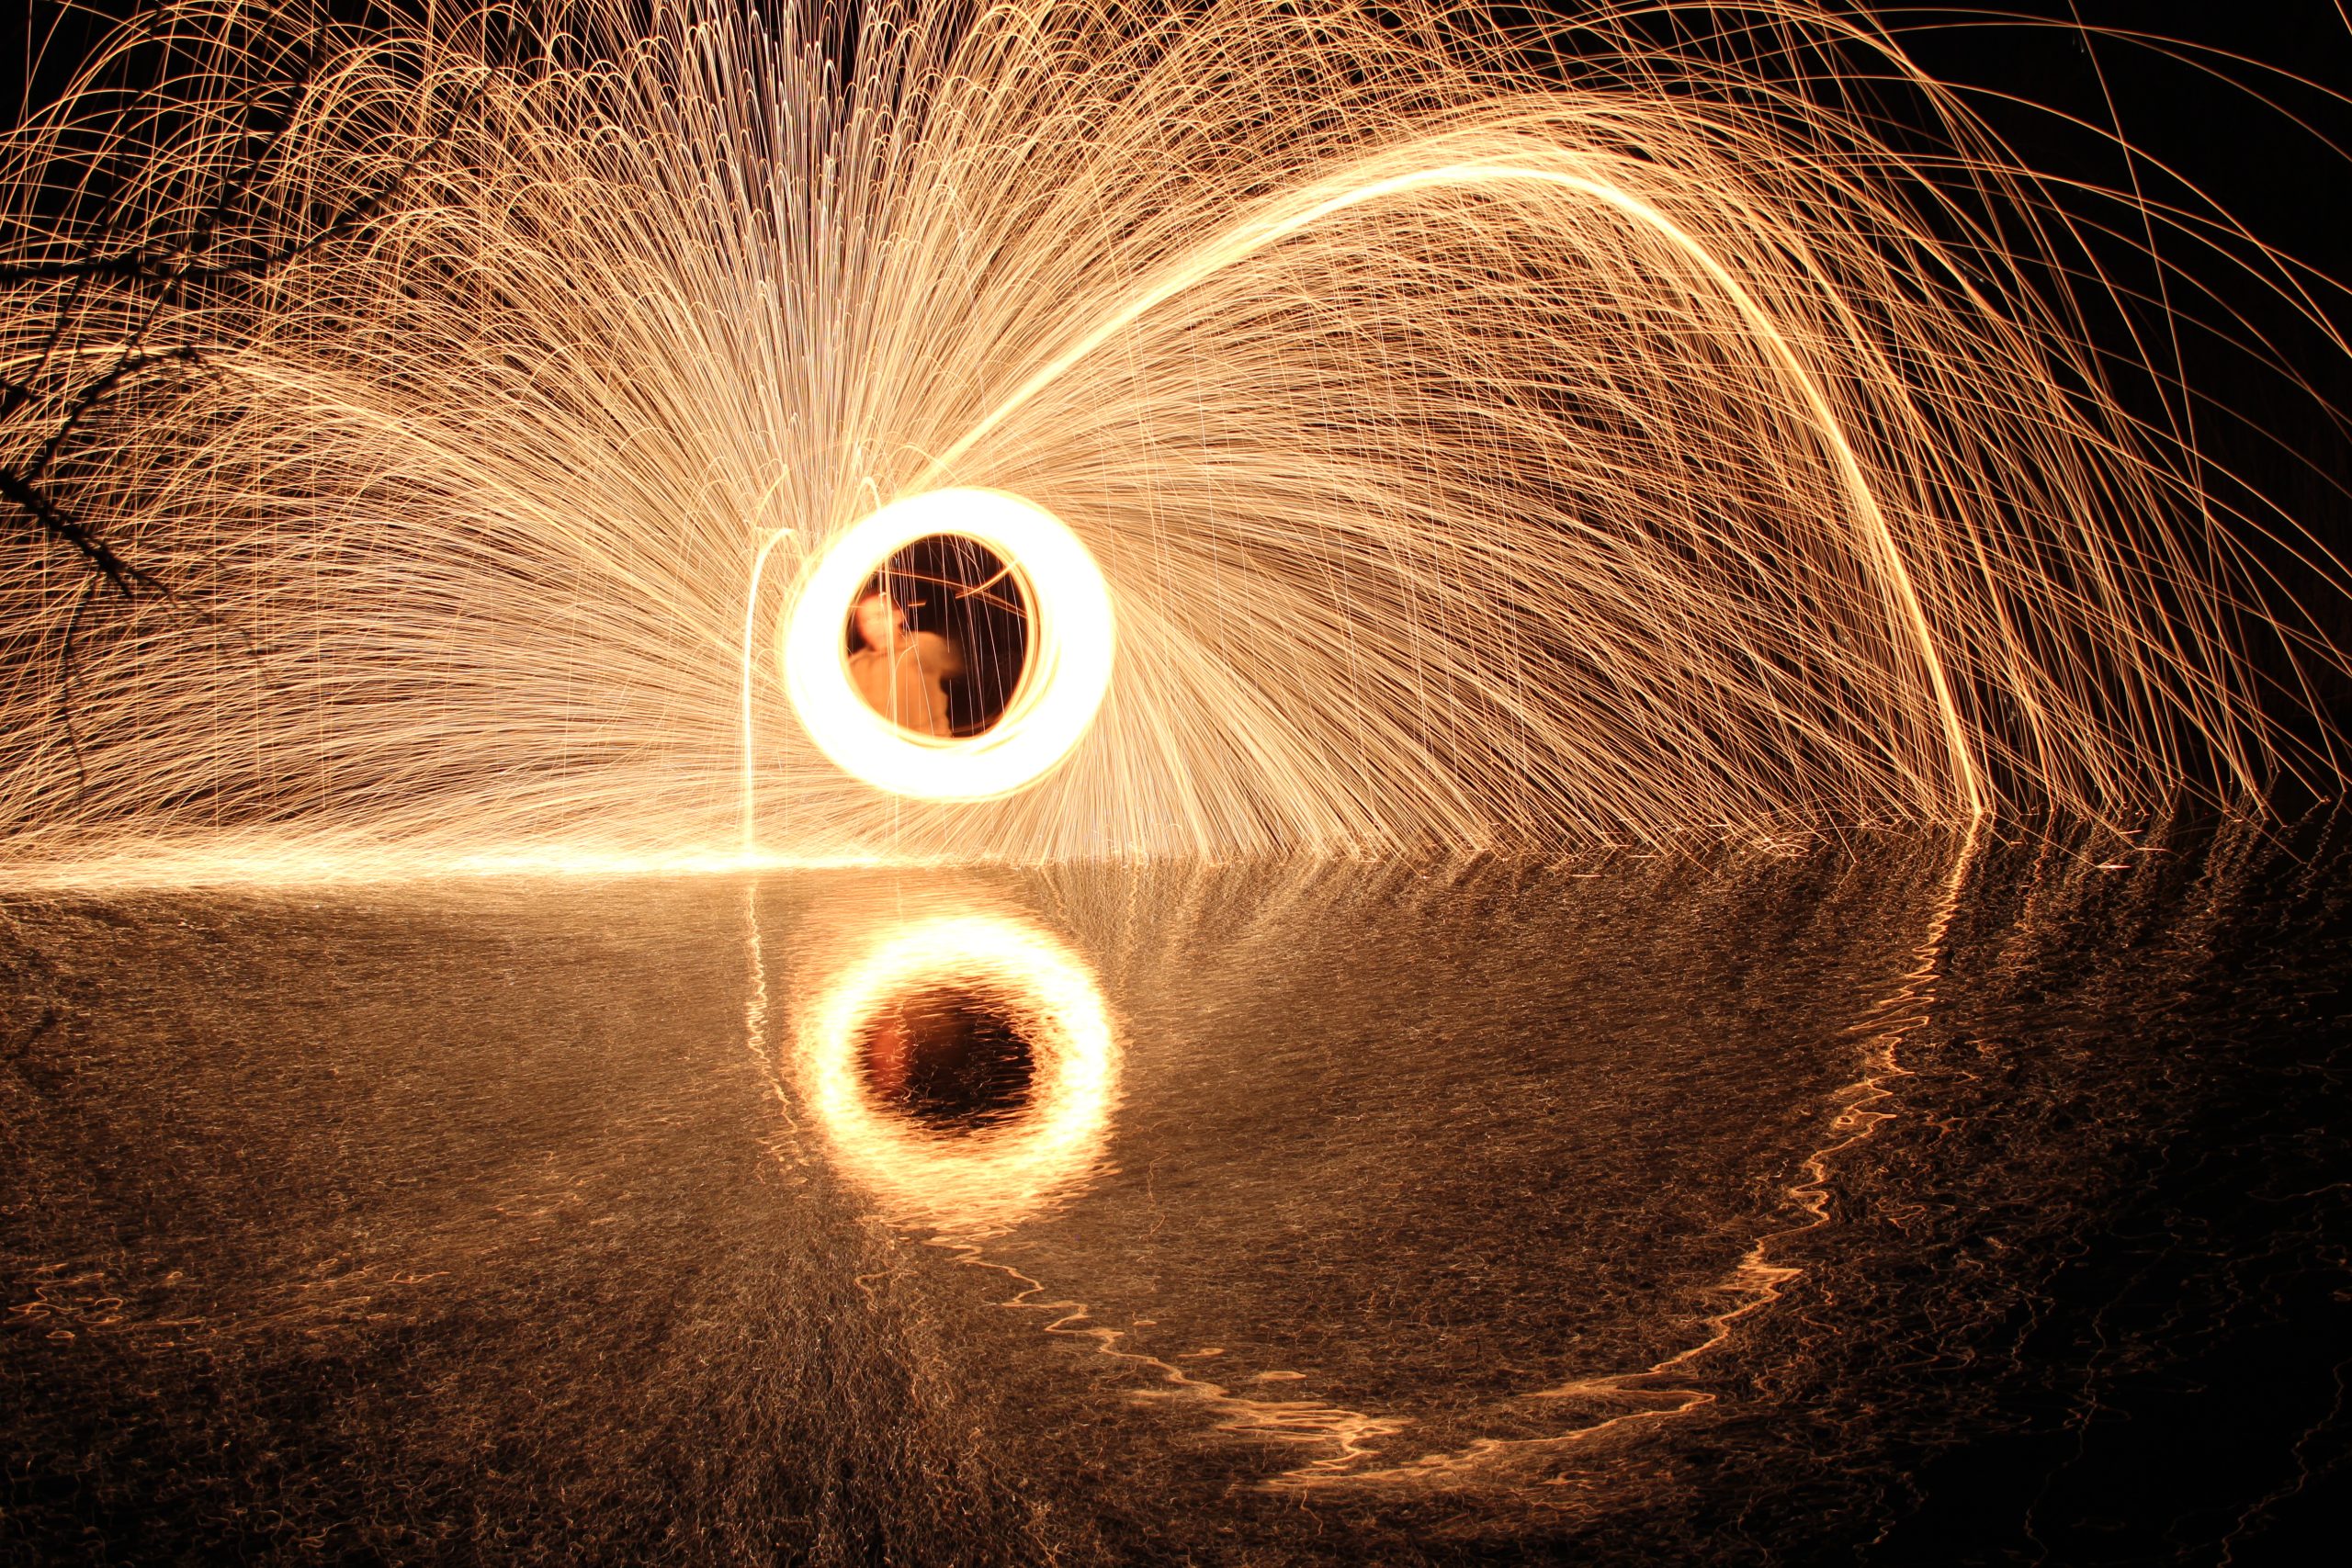
2 Shutter Speed
Chapter 2: Mastering Shutter Priority Mode: Controlling Motion

Shutter Priority mode, often abbreviated as “S” or “Tv” (Time Value) on your DSLR’s mode dial, is a powerful tool that allows you to take control of your camera’s shutter speed. This mode is particularly useful for capturing motion, whether you want to freeze fast action or create smooth, flowing effects. Let’s delve into how Shutter Priority mode works and how you can make the most of it.
Understanding Shutter Speed
Before we explore Shutter Priority mode, it’s essential to understand what shutter speed is. Shutter speed refers to the length of time your camera’s sensor is exposed to light. It is measured in seconds or fractions of a second (e.g., 1/1000s, 1/250s, 1/30s, 1s). A fast shutter speed (like 1/1000s) can freeze action, while a slow shutter speed (like 1s) can blur moving subjects, creating a sense of motion.
How Shutter Priority Mode Works
In Shutter Priority mode, you select the shutter speed, and the camera automatically adjusts the aperture to achieve a correct exposure. This semi-automatic mode is ideal for situations where controlling motion is more important than controlling depth of field. Here’s how to use Shutter Priority mode effectively:
- Set Your Mode Dial: Turn the mode dial on your DSLR to “S” or “Tv”.
- Select Your Shutter Speed: Use the control dial to choose the desired shutter speed. For fast-moving subjects, select a high shutter speed (e.g., 1/500s or faster). For creative motion blur, choose a slower shutter speed (e.g., 1/30s or slower).
- Check the Aperture: The camera will automatically select the appropriate aperture to match your chosen shutter speed. Keep an eye on the aperture value displayed in the viewfinder or on the LCD screen.
- Adjust ISO Sensitivity: If the lighting conditions are challenging, you may need to adjust the ISO setting to ensure a proper exposure. A higher ISO can help in low light, but be mindful of the increased noise.
- Take Your Shot: Compose your image, focus, and press the shutter button to capture the moment.

