Creating a Deep Depth of Field
Creating a Deep Depth of Field
As with the last exercise, you will be using Aperture Priority mode (often denoted as “A” or “Av” on your DSLR’s mode dial), which allows you to control the aperture while the camera automatically adjusts the shutter speed to achieve a correct exposure. This is ideal for creating a deep depth of field, such as in landscape photography, where you want the entire scene to be sharp and detailed.

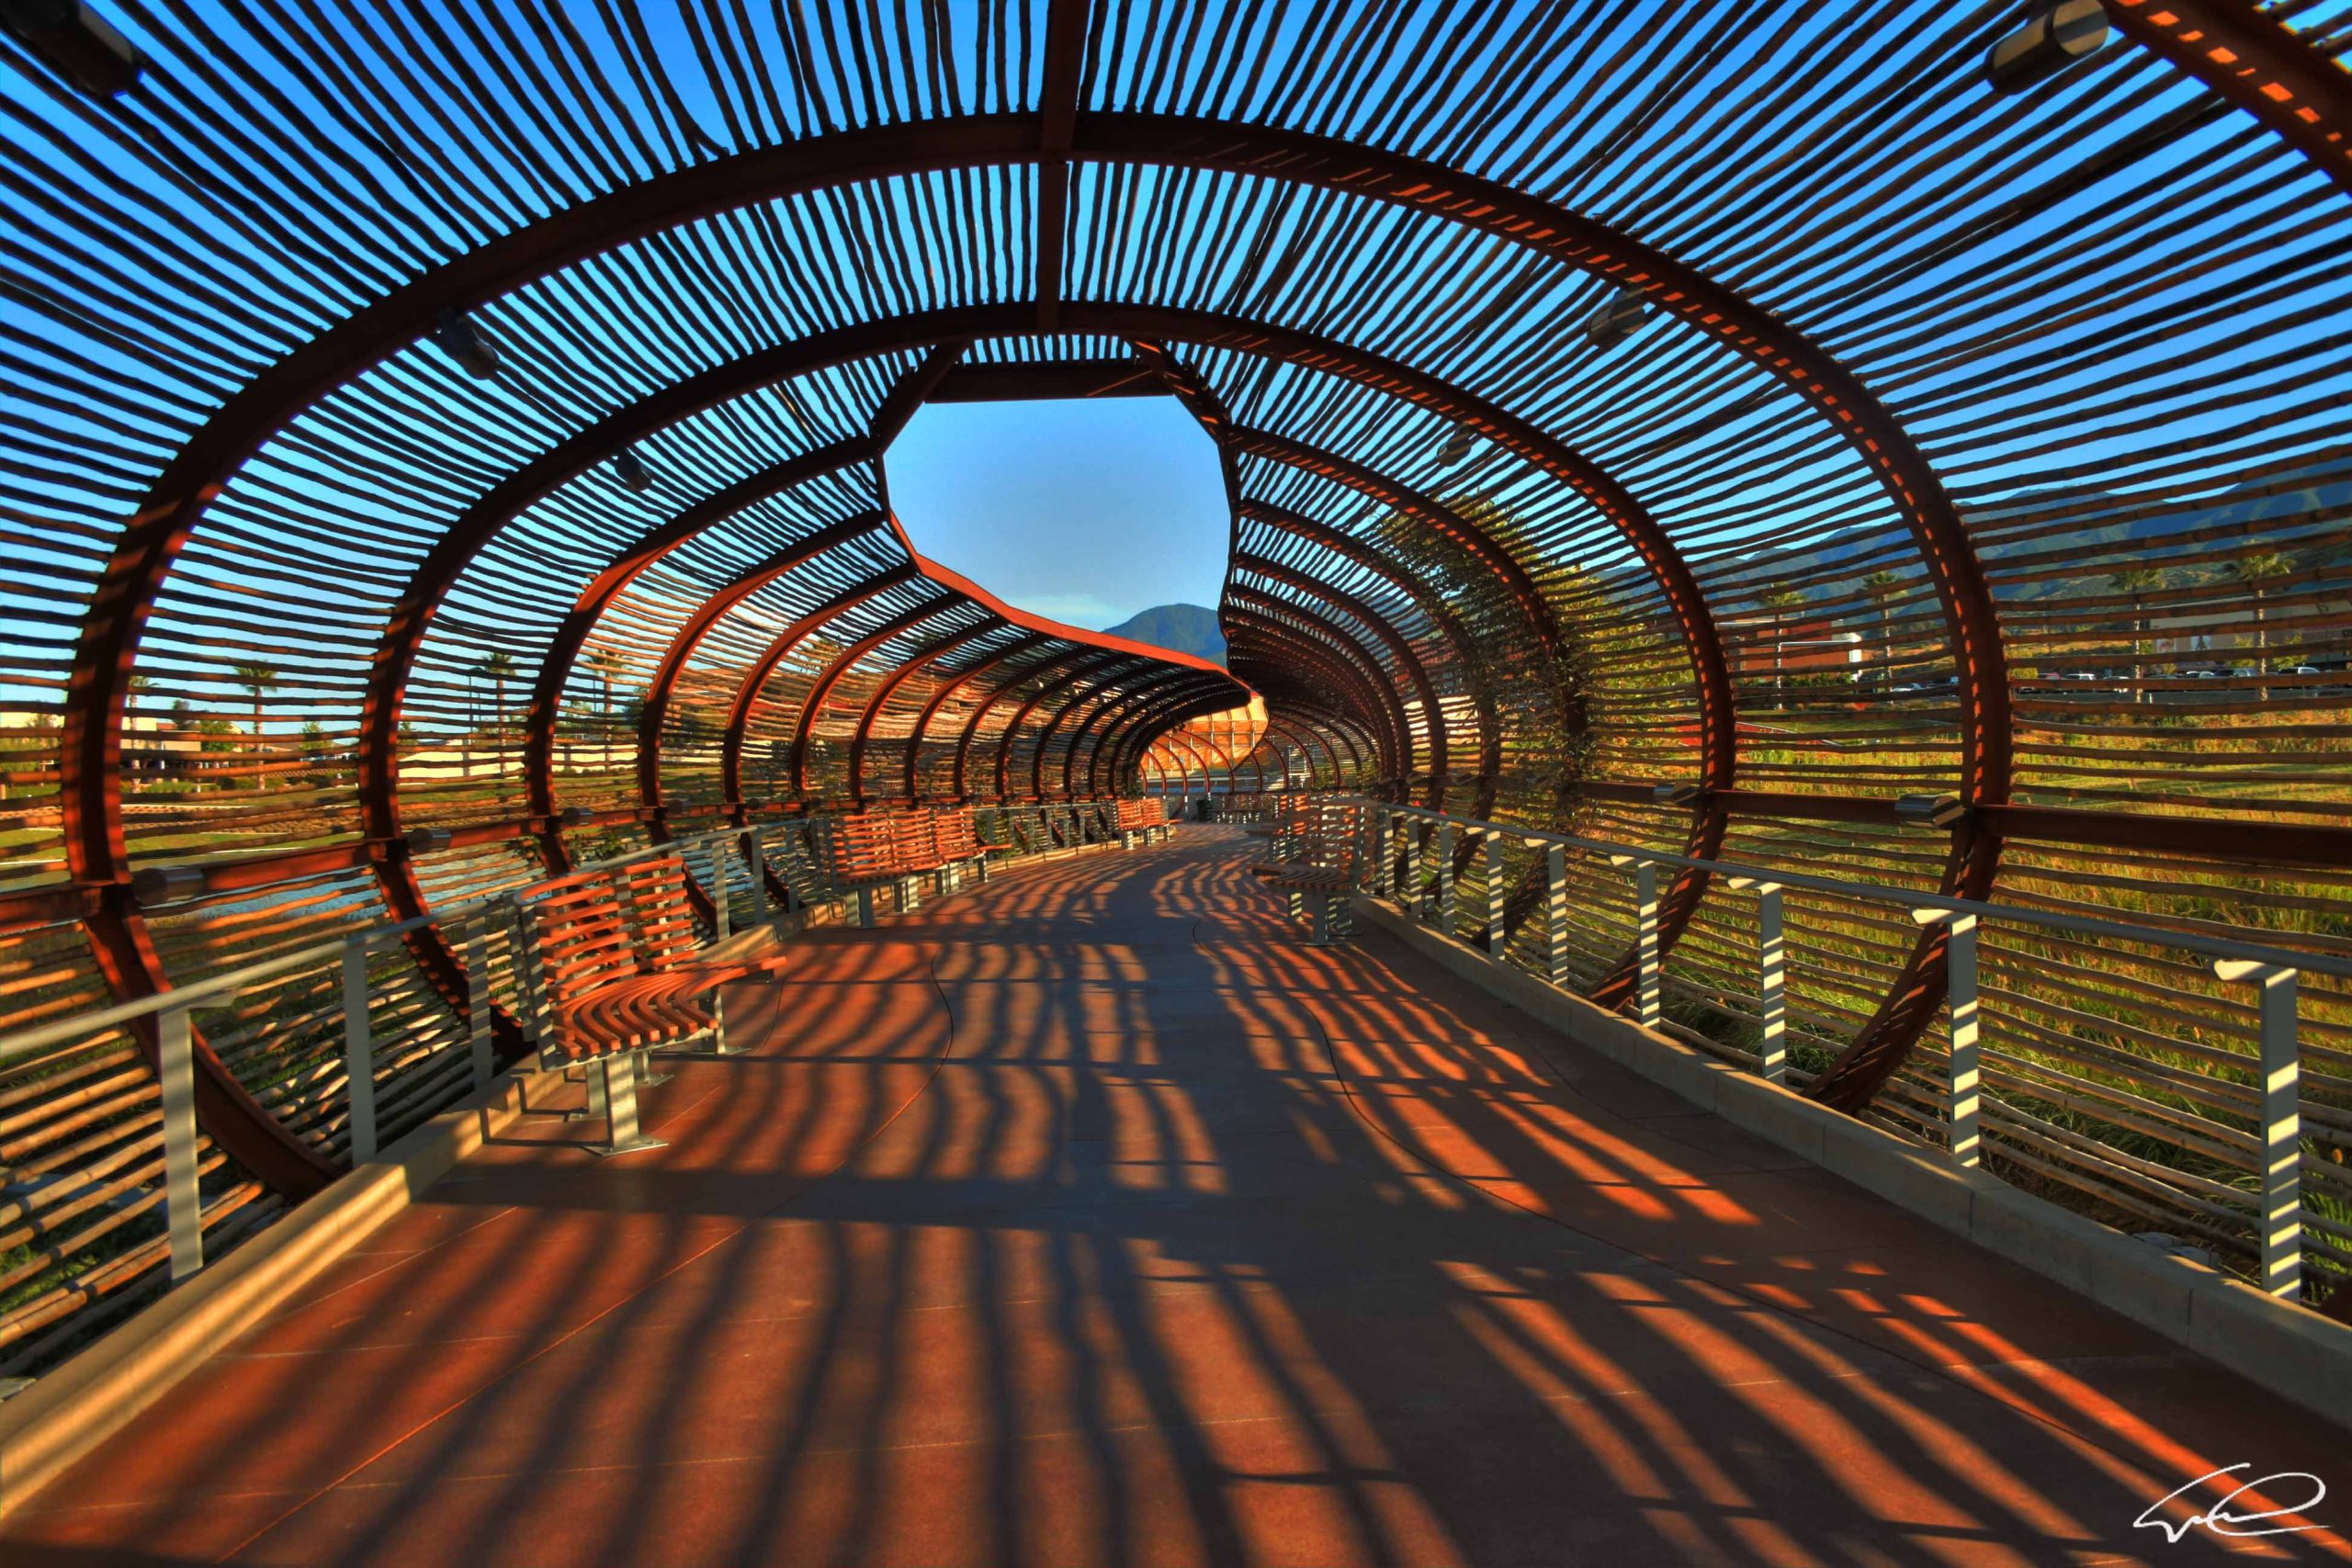
A deep depth of field is achieved by using a small aperture opening (high f-stop number), which increases the range of distance that appears sharp in the image. This technique is essential for landscape photography, architectural shots, and any situation where you want both the foreground and background to be in focus. Photo by Eric Demattos CC BY-NC-SA (Attribution Non Commercial ShareAlike)
Steps to Create Deep Depth of Field:
- Set Your Camera to Aperture Priority Mode: Turn the mode dial to “A” or “Av”.
- Choose a Narrow Aperture: Use a high f-stop number (e.g., f/11, f/16, or even f/22). A small aperture opening reduces the amount of light entering the lens, which increases the depth of field.
- Compose Your Shot: Frame your scene to include interesting elements in both the foreground and background. Use the rule of thirds to create a balanced composition.
- Focus: Focus about one-third into the scene to maximize depth of field. This technique, known as the hyperfocal distance, ensures that both near and far elements are sharp.
- Check Your Exposure: The camera will automatically adjust the shutter speed to balance the exposure. If the lighting conditions change, you might need to adjust the ISO to maintain a proper exposure without causing camera shake.
Practical Exercise: Deep Depth of Field
To practice creating a deep depth of field, follow this exercise. This exercise is designed to be done outdoors in a scenic location, such as a park, beach, or mountain trail.
Objective: Capture a landscape image where both the foreground and background are in focus, showcasing the entire scene in sharp detail.
Equipment Needed:
- DSLR camera
- A lens with a variable aperture (e.g., 18-55mm kit lens or a wide-angle lens) works best but try this with any lens available to you
- A tripod (optional but recommended for stability)
Steps:
- Find Your Location: Choose a scenic location with interesting elements in the foreground, middle ground, and background. Examples include a beach with rocks leading out to the sea, a park with a pathway and trees, or a mountain trail with varied terrain.
- Set Up Your Camera:
- Switch to Aperture Priority mode (A or Av).
- Set the aperture to f/11 or higher (e.g., f/16, f/22).
- Compose Your Shot:
- Use the rule of thirds to place key elements within the frame.
- Include foreground interest, such as rocks, flowers, or a leading path.
- Ensure the background, such as mountains, trees, or the horizon, is also included.
- Focus and Shoot:
- Focus about one-third into the scene to achieve maximum depth of field.
- Use live view if available to ensure critical focus throughout the scene.
- Take the shot and review the image on your camera’s LCD screen.
- Adjust if Necessary:
- If parts of the scene are out of focus, try refocusing at different points or increasing the aperture to a higher f-stop number.
- Ensure that the shutter speed is not too slow to avoid camera shake. Use a tripod if necessary.
Tips for Success:
- Use a Tripod: To avoid camera shake, especially in lower light conditions, use a tripod for stability.
- Check Your Histogram: Ensure a balanced exposure by checking your histogram. Adjust the exposure compensation if necessary.
- Shoot in Good Light: Early morning or late afternoon light (golden hour) often provides the best lighting conditions for landscape photography.
By practicing this exercise, you’ll learn how to use aperture to control depth of field and create stunning landscape images with sharp details from foreground to background. This skill is essential for capturing the beauty of expansive scenes and ensuring your images are crisp and clear.

