Studio Lighting

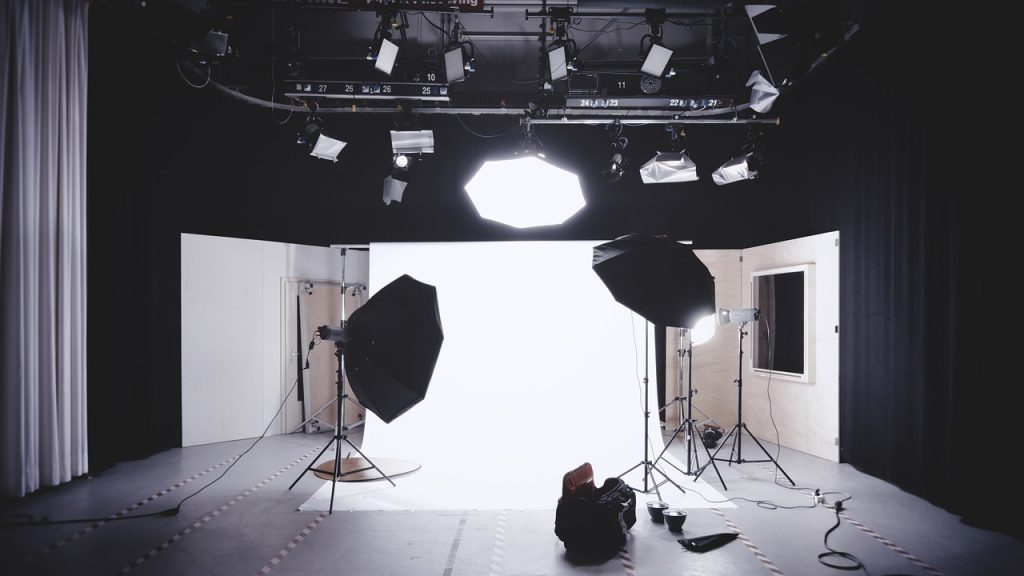
Studio lighting offers more control over the light and allows for creative lighting setups. Here are a variety of lighting tools for portrait photography:
Lighting Tools
- Portable Reflector: Used outdoors to bounce light onto your subject.
- Constant Lights: Provide continuous light in a studio setting.
- Flash Units: Used in studios, often with modifiers like softboxes, snoots, and umbrella diffusers to shape the light.
- Softboxes: Diffuse light to create a soft, even illumination.
- Snoots: Focus light into a narrow beam for dramatic effects.
- Umbrella Diffusers: Spread light broadly and softly over the subject.
Studio Lighting Configurations

- Key and Fill Lighting: The key light is the main light source, while the fill light softens shadows created by the key light. This setup provides a balanced and natural look.
- Rembrandt Lighting: Creates a triangle of light under the subject’s eye, producing a classic and dramatic look.
- Butterfly Lighting: Light is positioned above and in front of the subject, casting a butterfly-shaped shadow under the nose.
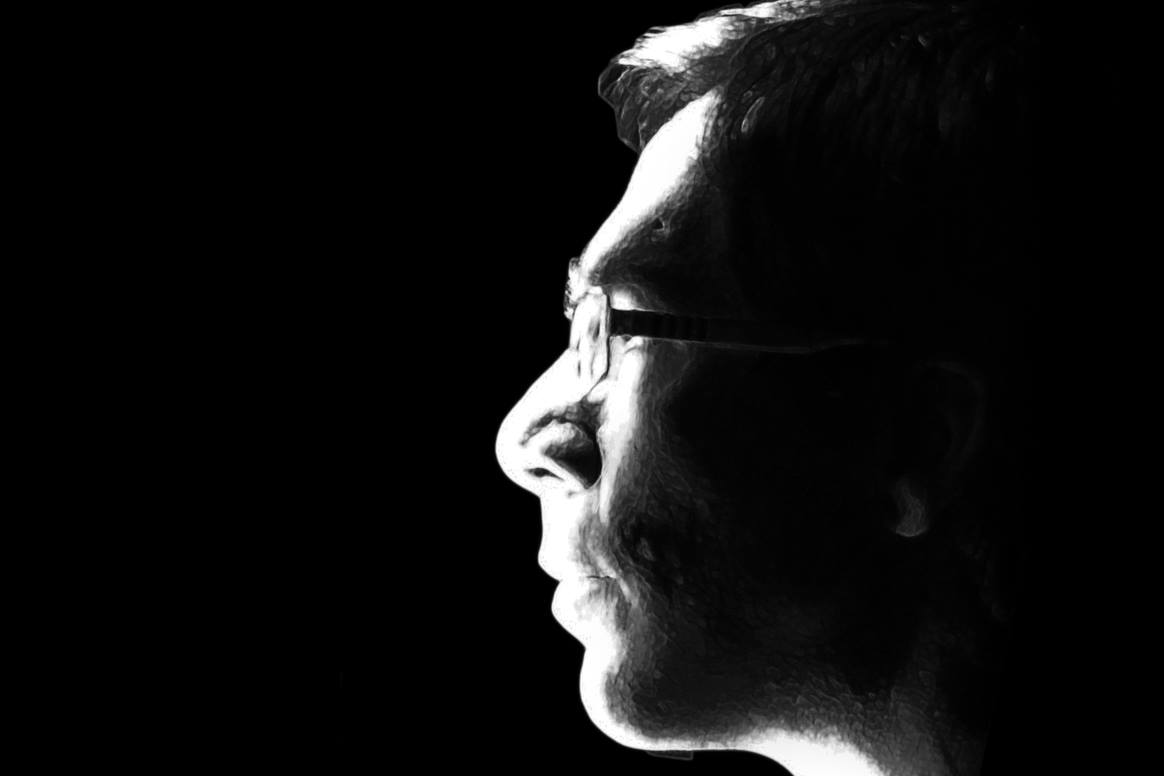
- Side Lighting: Light is placed to the side of the subject, emphasizing texture and dimension.
- Badger Lighting: This technique uses two light sources placed on either side and slightly behind (at 30-degree angles) the subject, creating dramatic shadows and highlights.
- Using Colored Gels: Colored gels can be placed over lights to add color and creativity to your portraits.
Using One, Two, or Three Studio Lights
- One Light Setup: Position a softbox or umbrella diffuser at a 45-degree angle to your subject for soft, even light.
- Two Light Setup: Add a second light opposite the main light to fill in shadows and create balanced illumination.
- Three Light Setup: Use a third light as a hair light or background light to add separation and depth.
Exercise: Practicing Studio Lighting
- Objective: Experiment with one, two, and three light setups.
- Steps:
- Set up a single light source and position it at different angles.
- Add a second light and experiment with placement to fill in shadows.
- Introduce a third light for hair or background lighting.
- Take photos at each stage to compare the effects of different lighting setups.
Making Your Subject Comfortable
Portrait photography is not just about technical skills; it also involves making your subject feel at ease. Here are some strategies:
- Build Rapport: Spend time talking to your subject before the shoot to build a connection and make them feel comfortable.
- Provide Clear Directions: Give gentle guidance on poses and expressions to help your subject relax and feel confident.
- Create a Relaxed Atmosphere: Use humor, play music, or engage in light conversation to create a comfortable environment.
Practical Exercises
Exercise 1: Portraits with Lighting and Posing

- Objective: Practice lighting techniques and posing your subject.
- Steps:
- Set up your chosen lighting configuration (natural or studio).
- Pose your subject in various ways to highlight different aspects of their personality.
- Take multiple shots, adjusting the lighting and poses as needed.
- Review the images and note how different lighting and poses affect the final result.
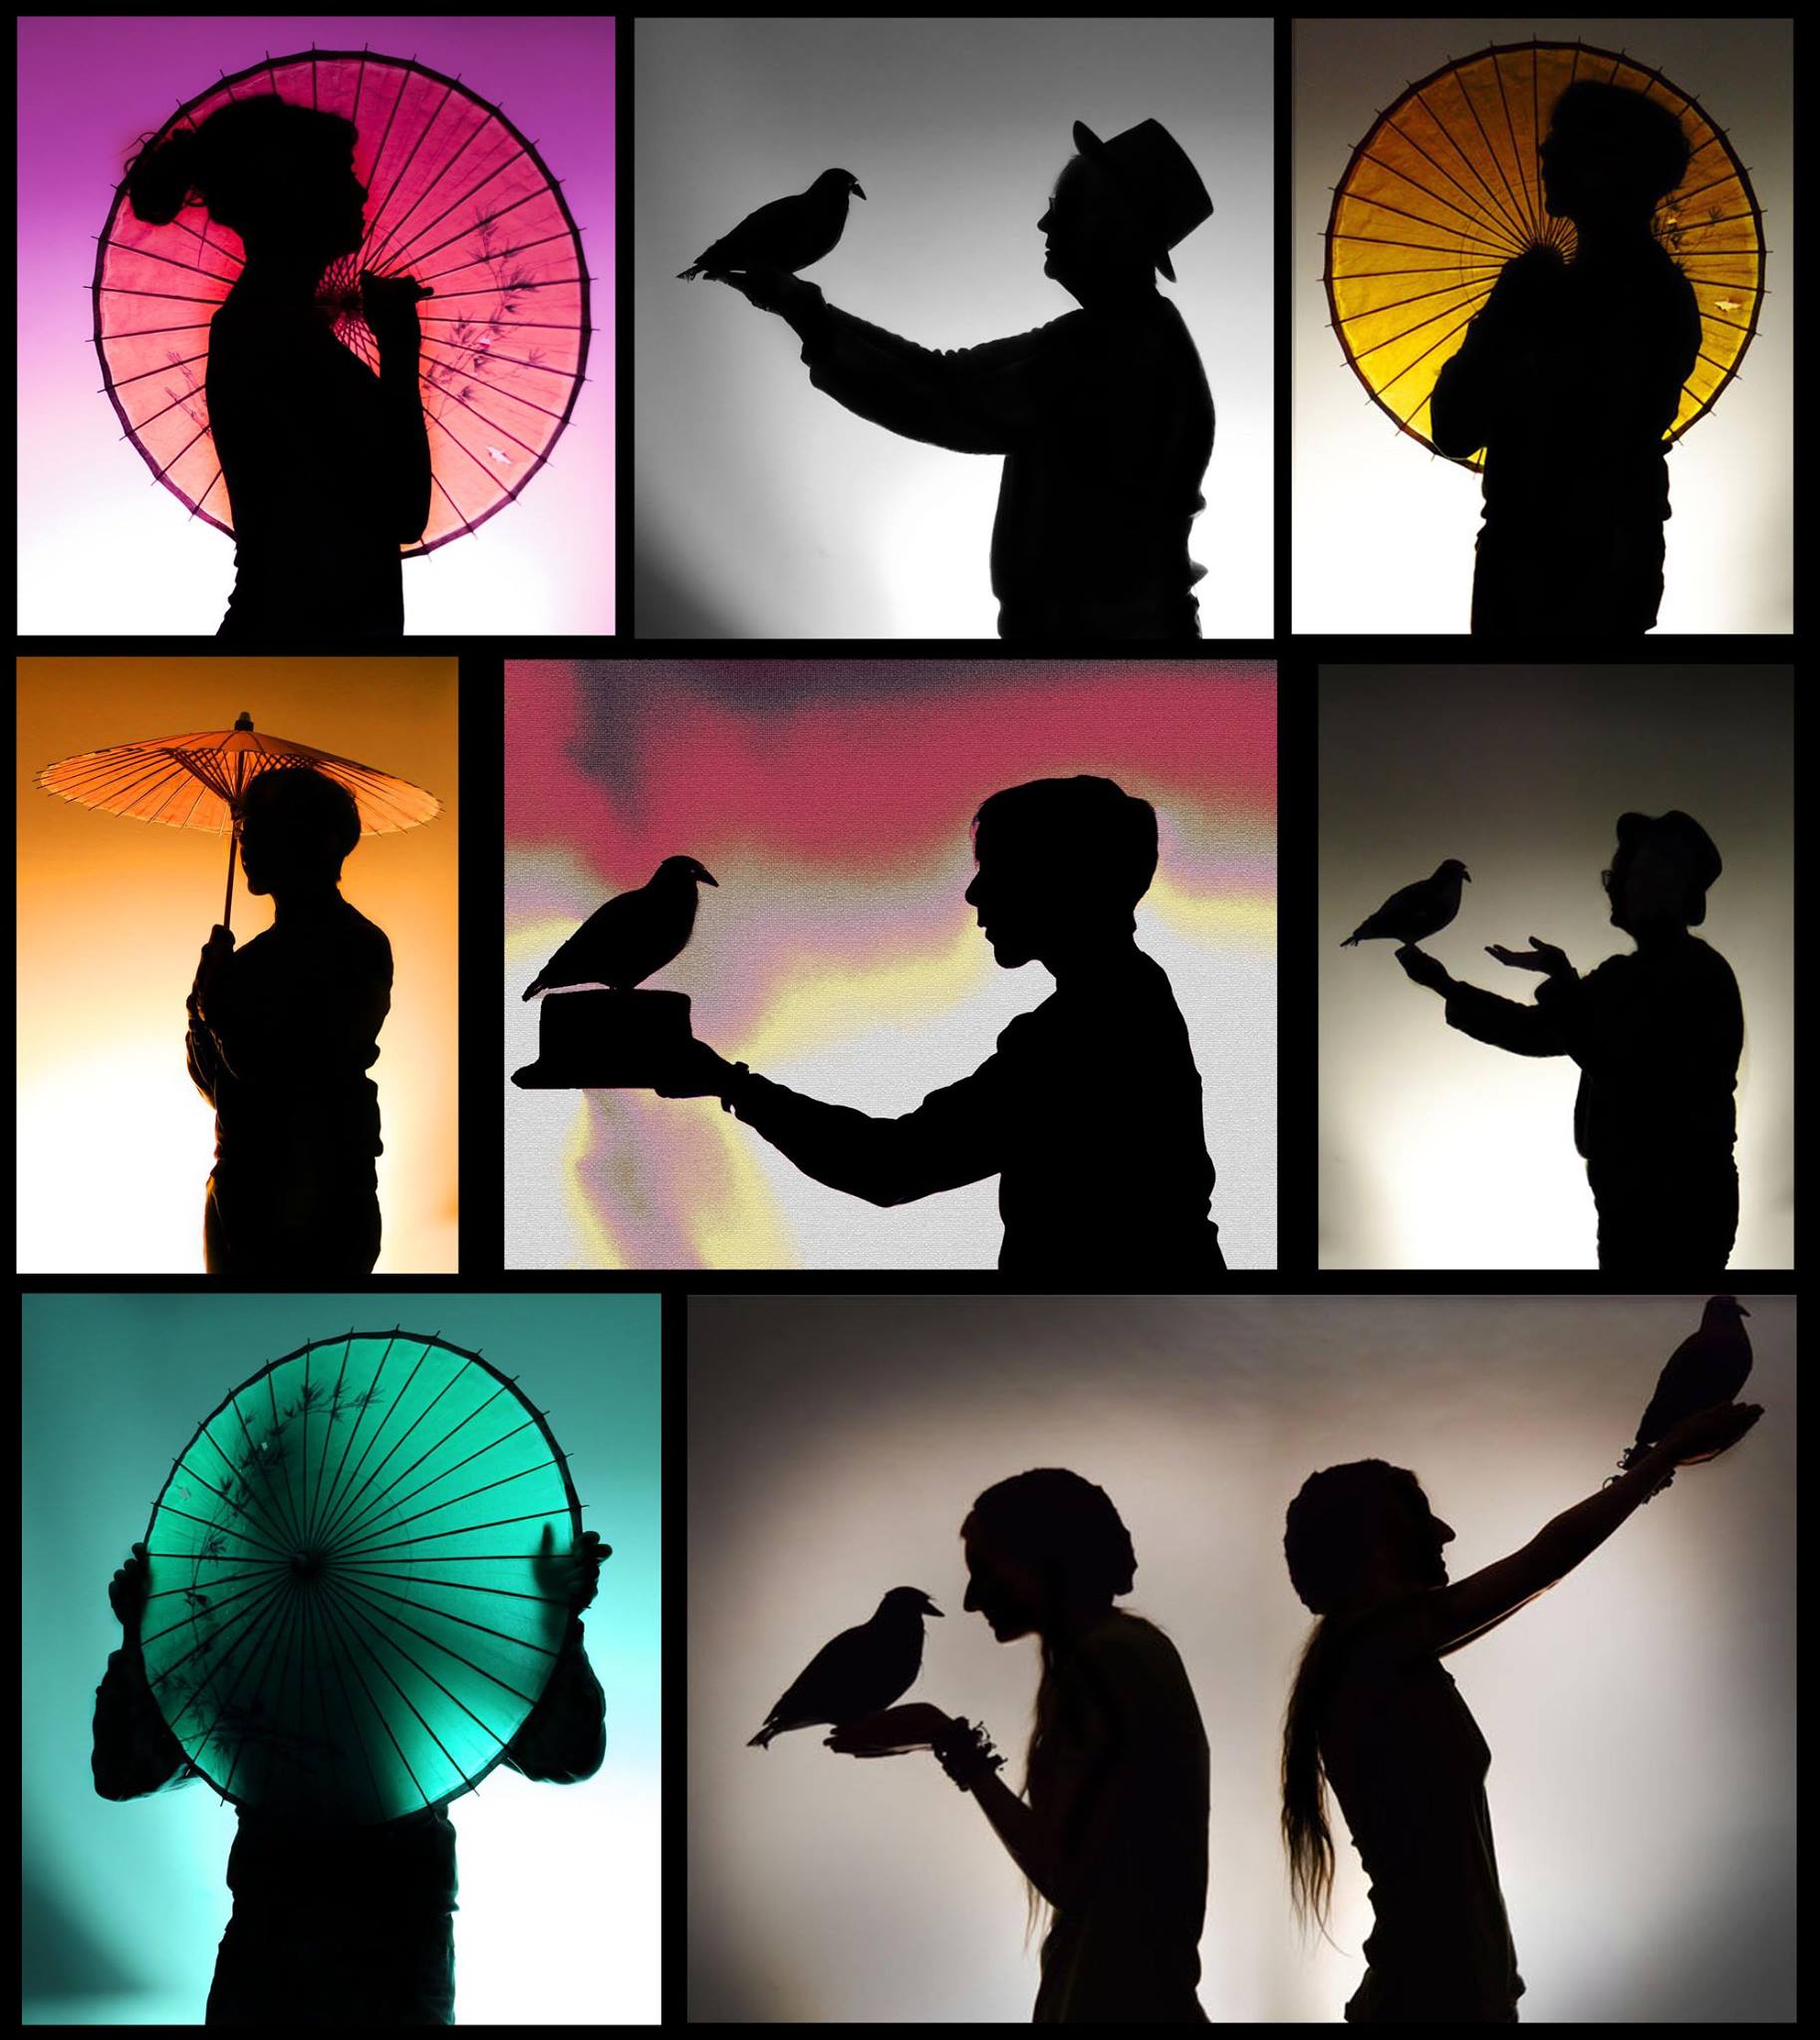
Exercise 2: Creative Portraits Without Showing the Face

- Objective: Create a portrait that reveals something about your subject without showing their face.
- Steps:
- Think about the story you want to tell about your subject.
- Consider their surroundings and other parts of their body (hands, shoes, hair, stride).
- Compose your shot to include elements that represent your subject’s identity.
- Experiment with different compositions and angles.
- Be mindful of color and how it impacts your composition.
Conclusion
Mastering portrait photography involves a combination of technical knowledge and creative vision. By understanding how to use natural and studio lighting, experimenting with different lighting setups, and practicing effective communication with your subjects, you can create stunning portraits that capture the essence of the person. Remember to be mindful of color and composition, and to practice regularly to develop your skills.

